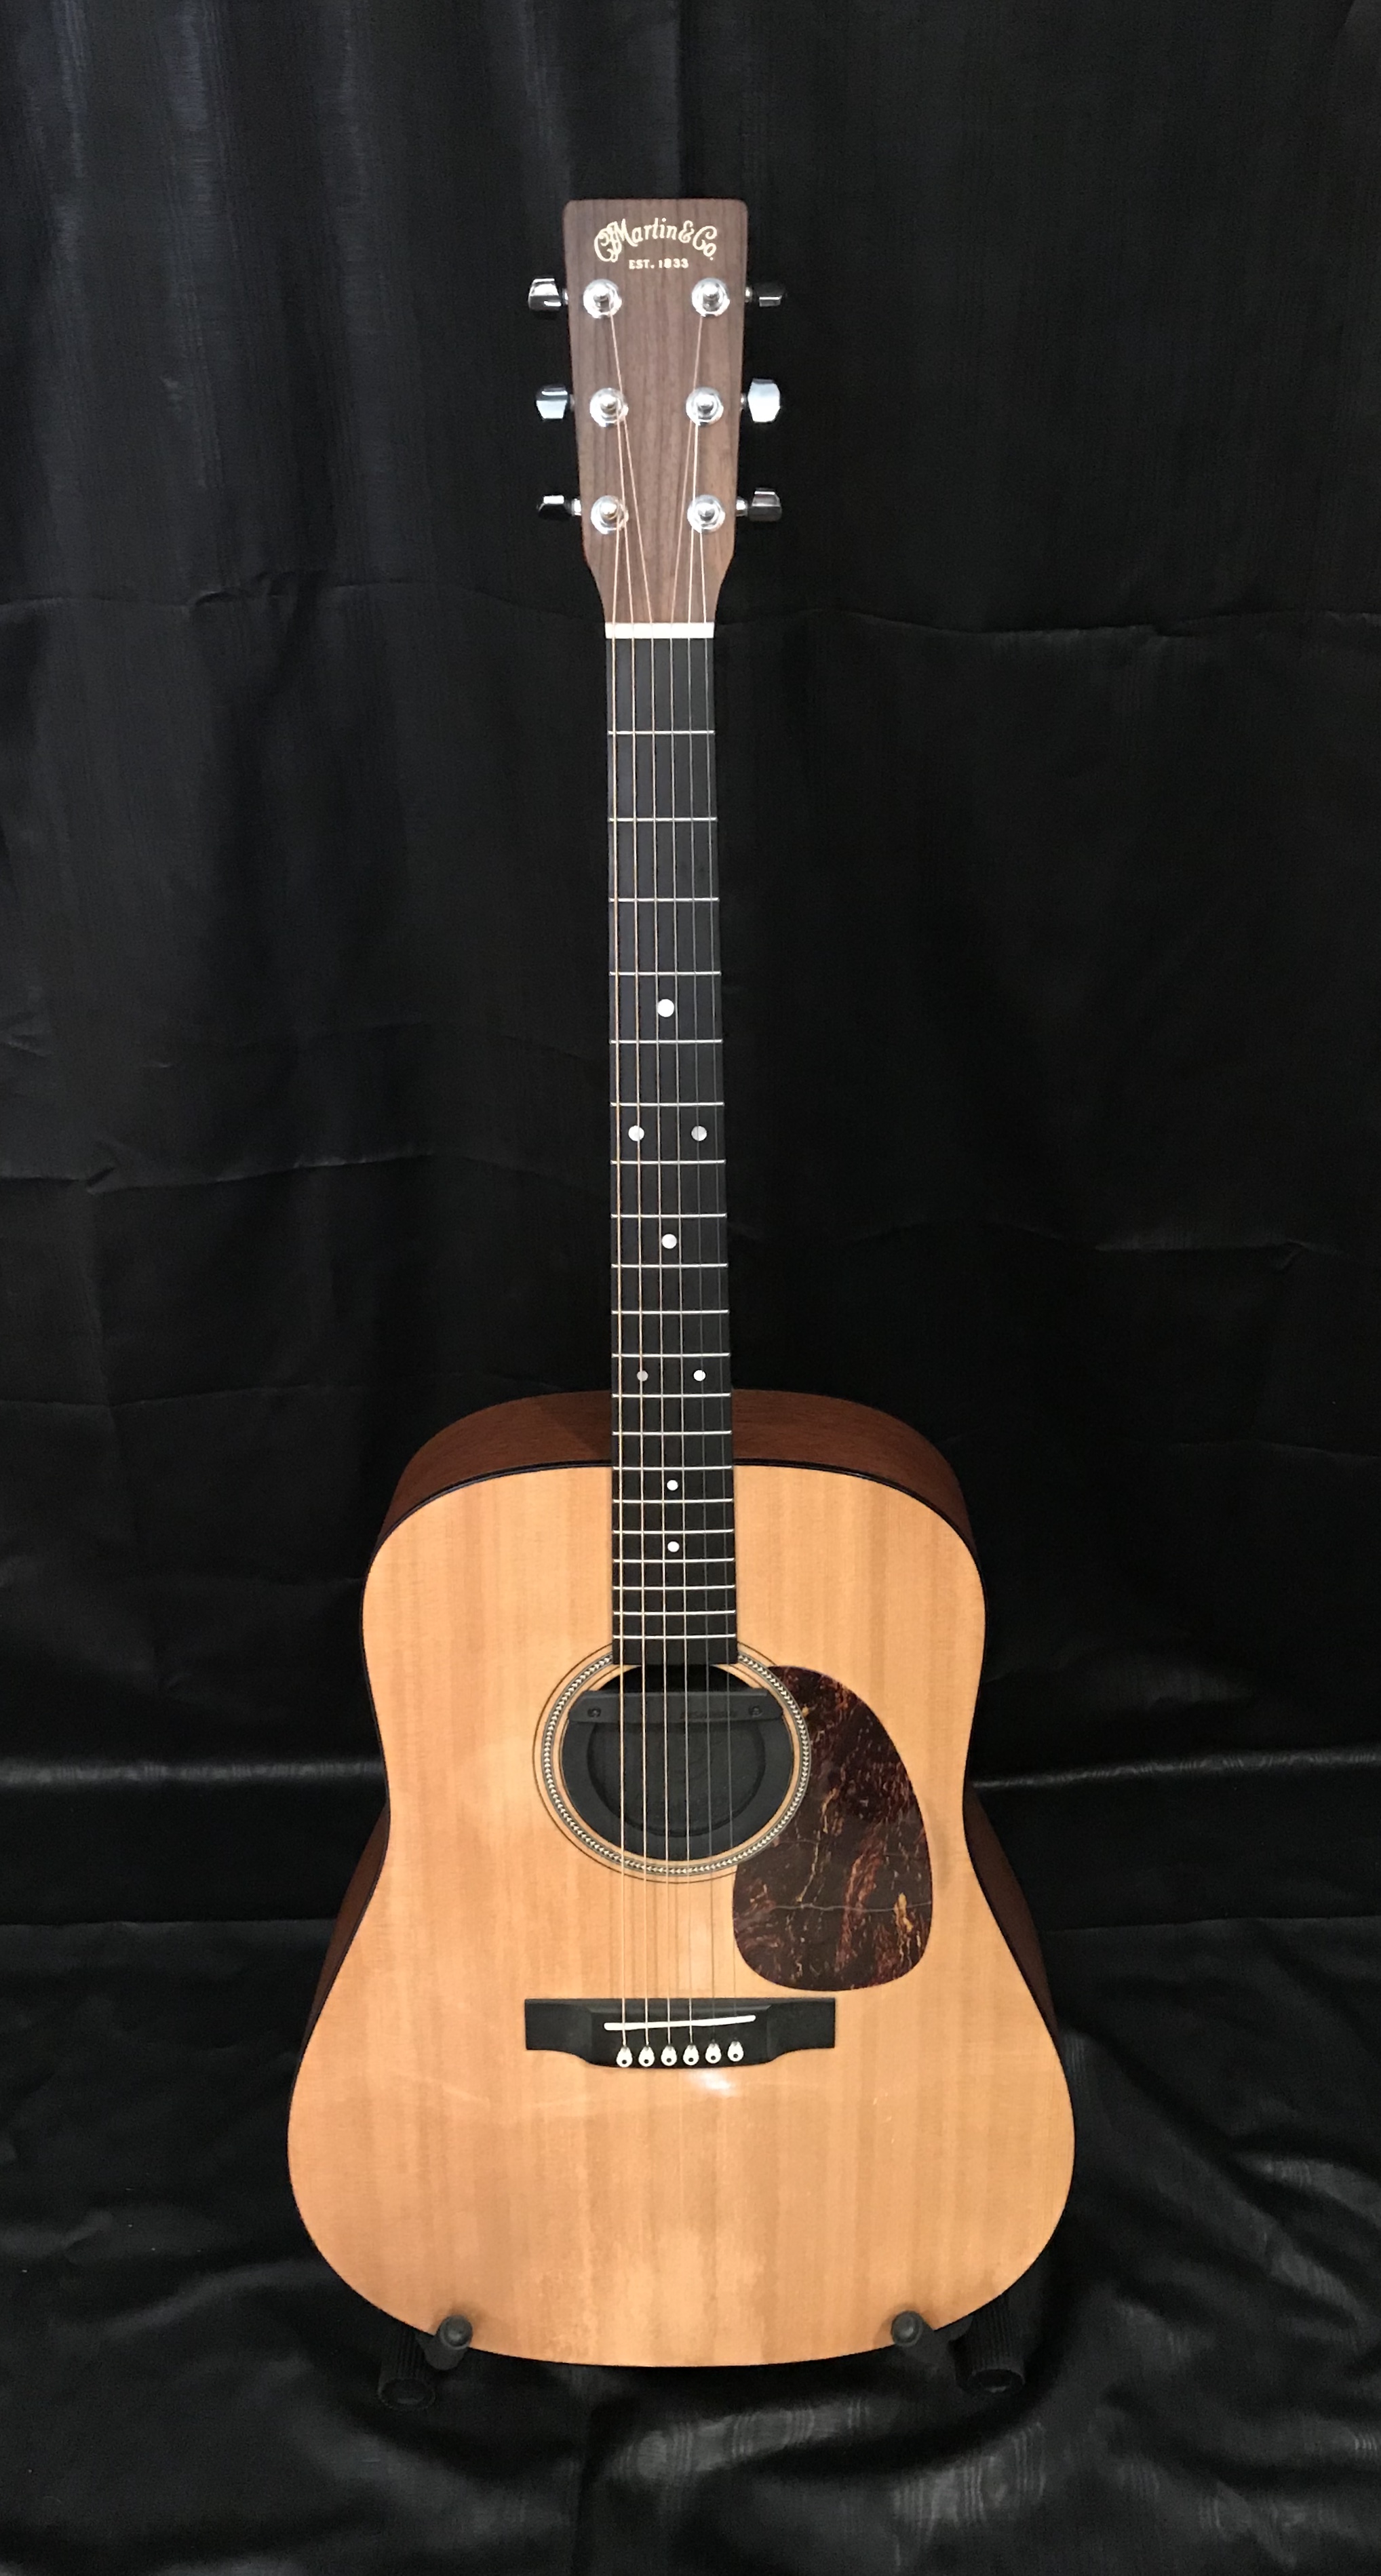
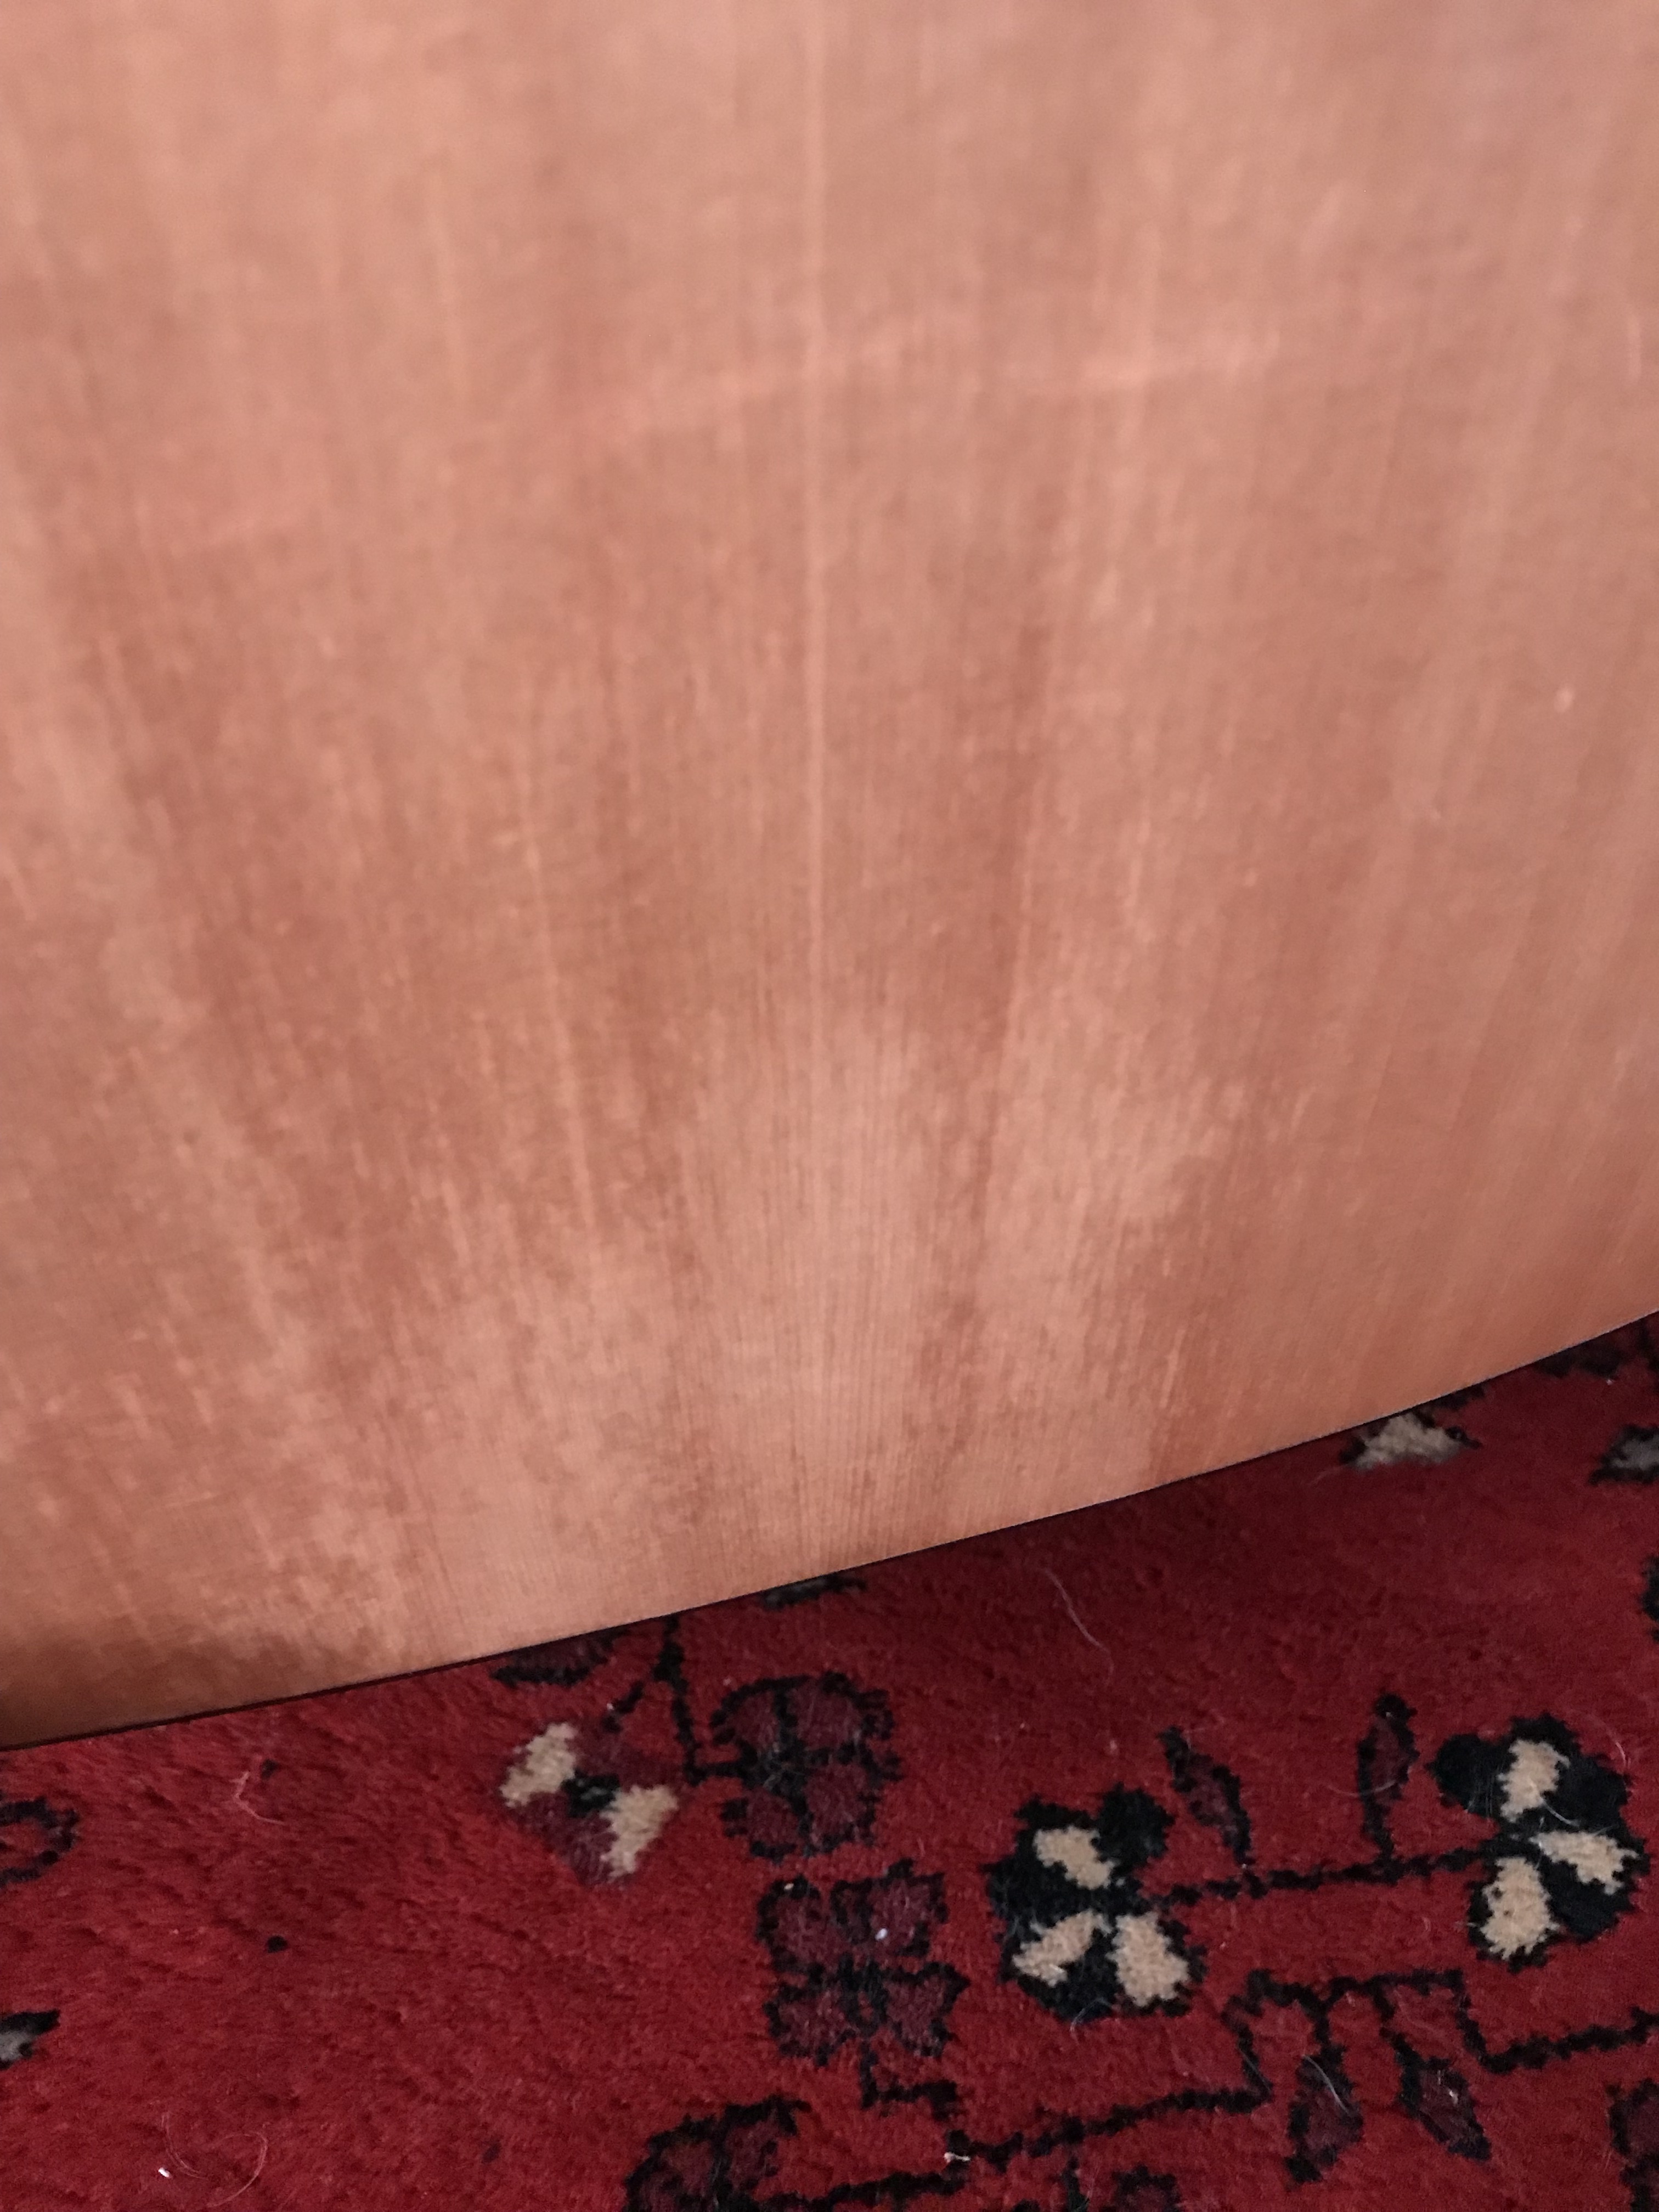
And I use the term loosely. I got this guitar off Craigslist. It wasn’t stupid cheap, but what I paid and what transpired was “OK”. Turns out that in JUST the right light I noticed blotches of light coloring on the top. From “the house” you couldn’t see it. And, it played OK.
But like I said… from just the right angle in just the right light….
So, since they are less than thirty minutes away I trodded off to Martin with an appointment to see the repair people. Here it was explained to me that yes, the topcoat was separating from the sealer and they had seen this. Unfortunately I was not the original owner and they mumbled something about “this one got out of the building” and the problem was all mine. They could fix it, for $500-$600. They were nice enough to give me a free setup while I took the factory tour. I got it back an hour later and it plays nice. Very nice.
So…. I pondered my options. The guitar is not rare, special or emotionally significant to me so pouring half its value (in good shape) again in to it seemed a little silly. I could play it as it was and hope that the top coat would not separate more. Or, I could have some fun and refinish it myself. Lots of research on line made that an increasingly interesting option. So…..here we go.
What happened, I was told, is that in the early 2000’s Martin, and other major manufacturers, started going away from lacquer as the main product to finish the instruments. Increasingly there were water based finishes, and finishes that had two parts and interesting chemical reactions. We all know the reasons, work place safety and environmental considerations alongside economic reasons being the major players. Some of these newfangled materials didn’t play nice, or needed different processes. It was a process of trial and error. My separating top coat being an error, soon thereafter remedied.
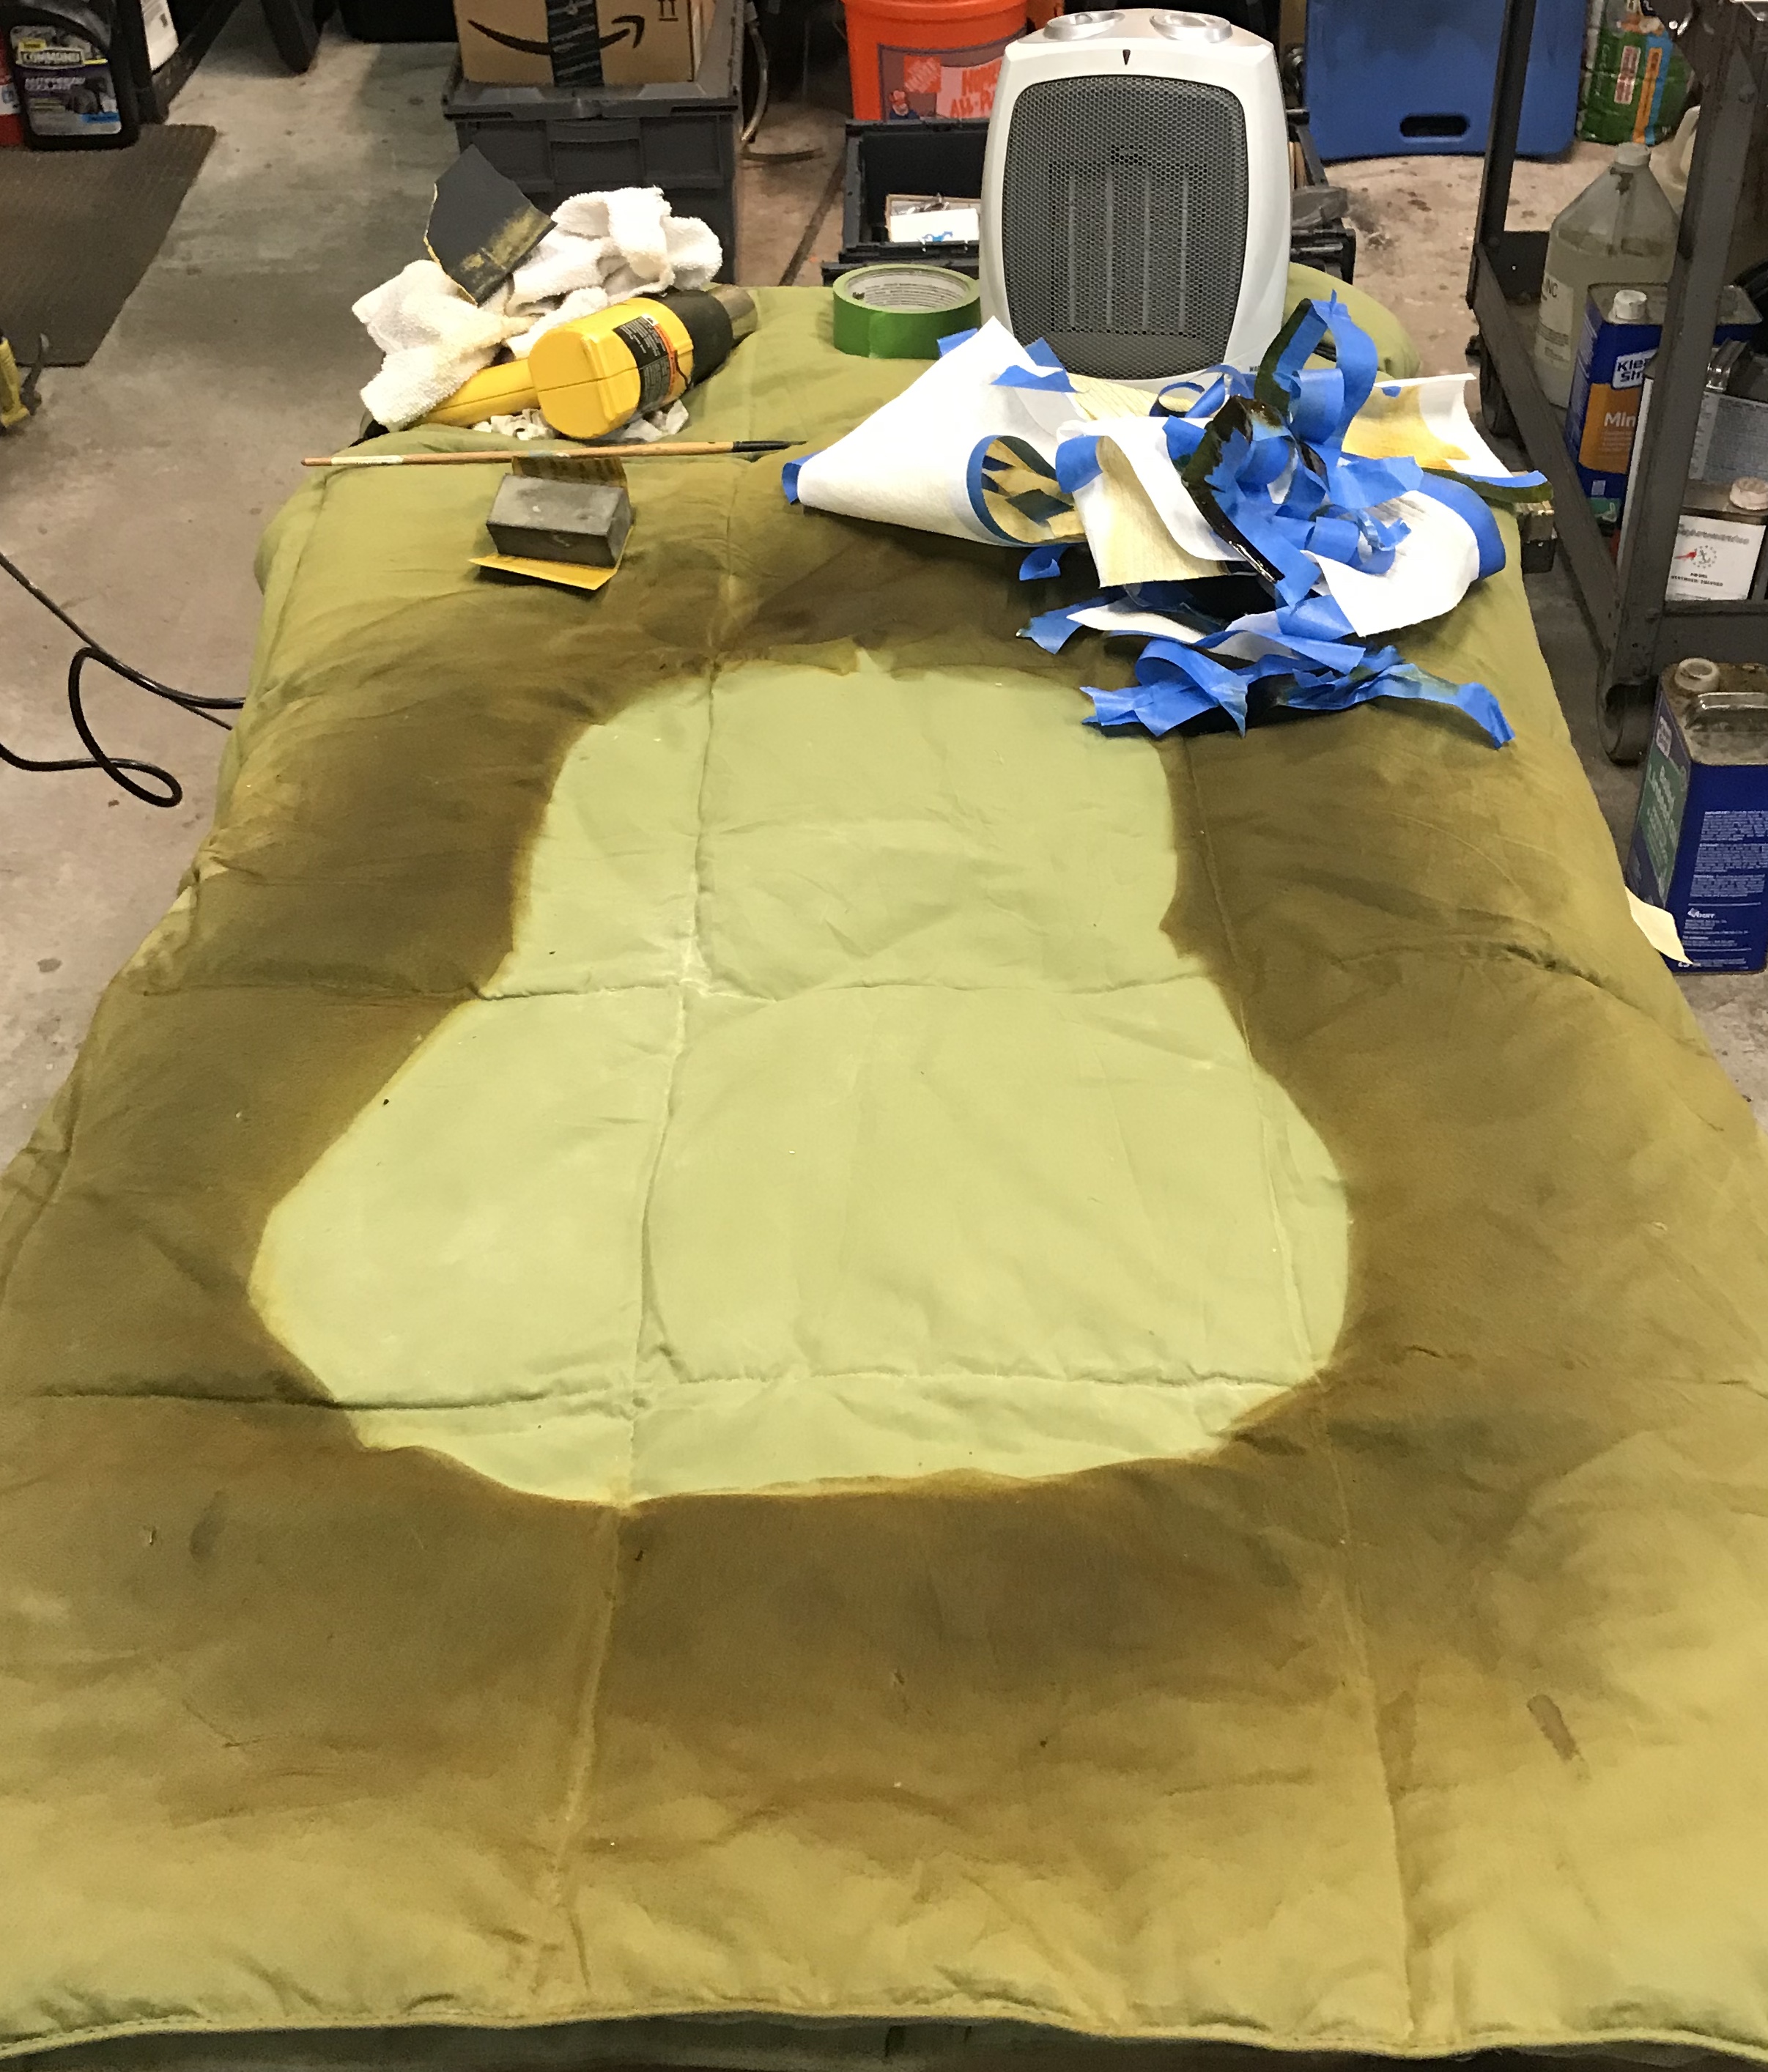
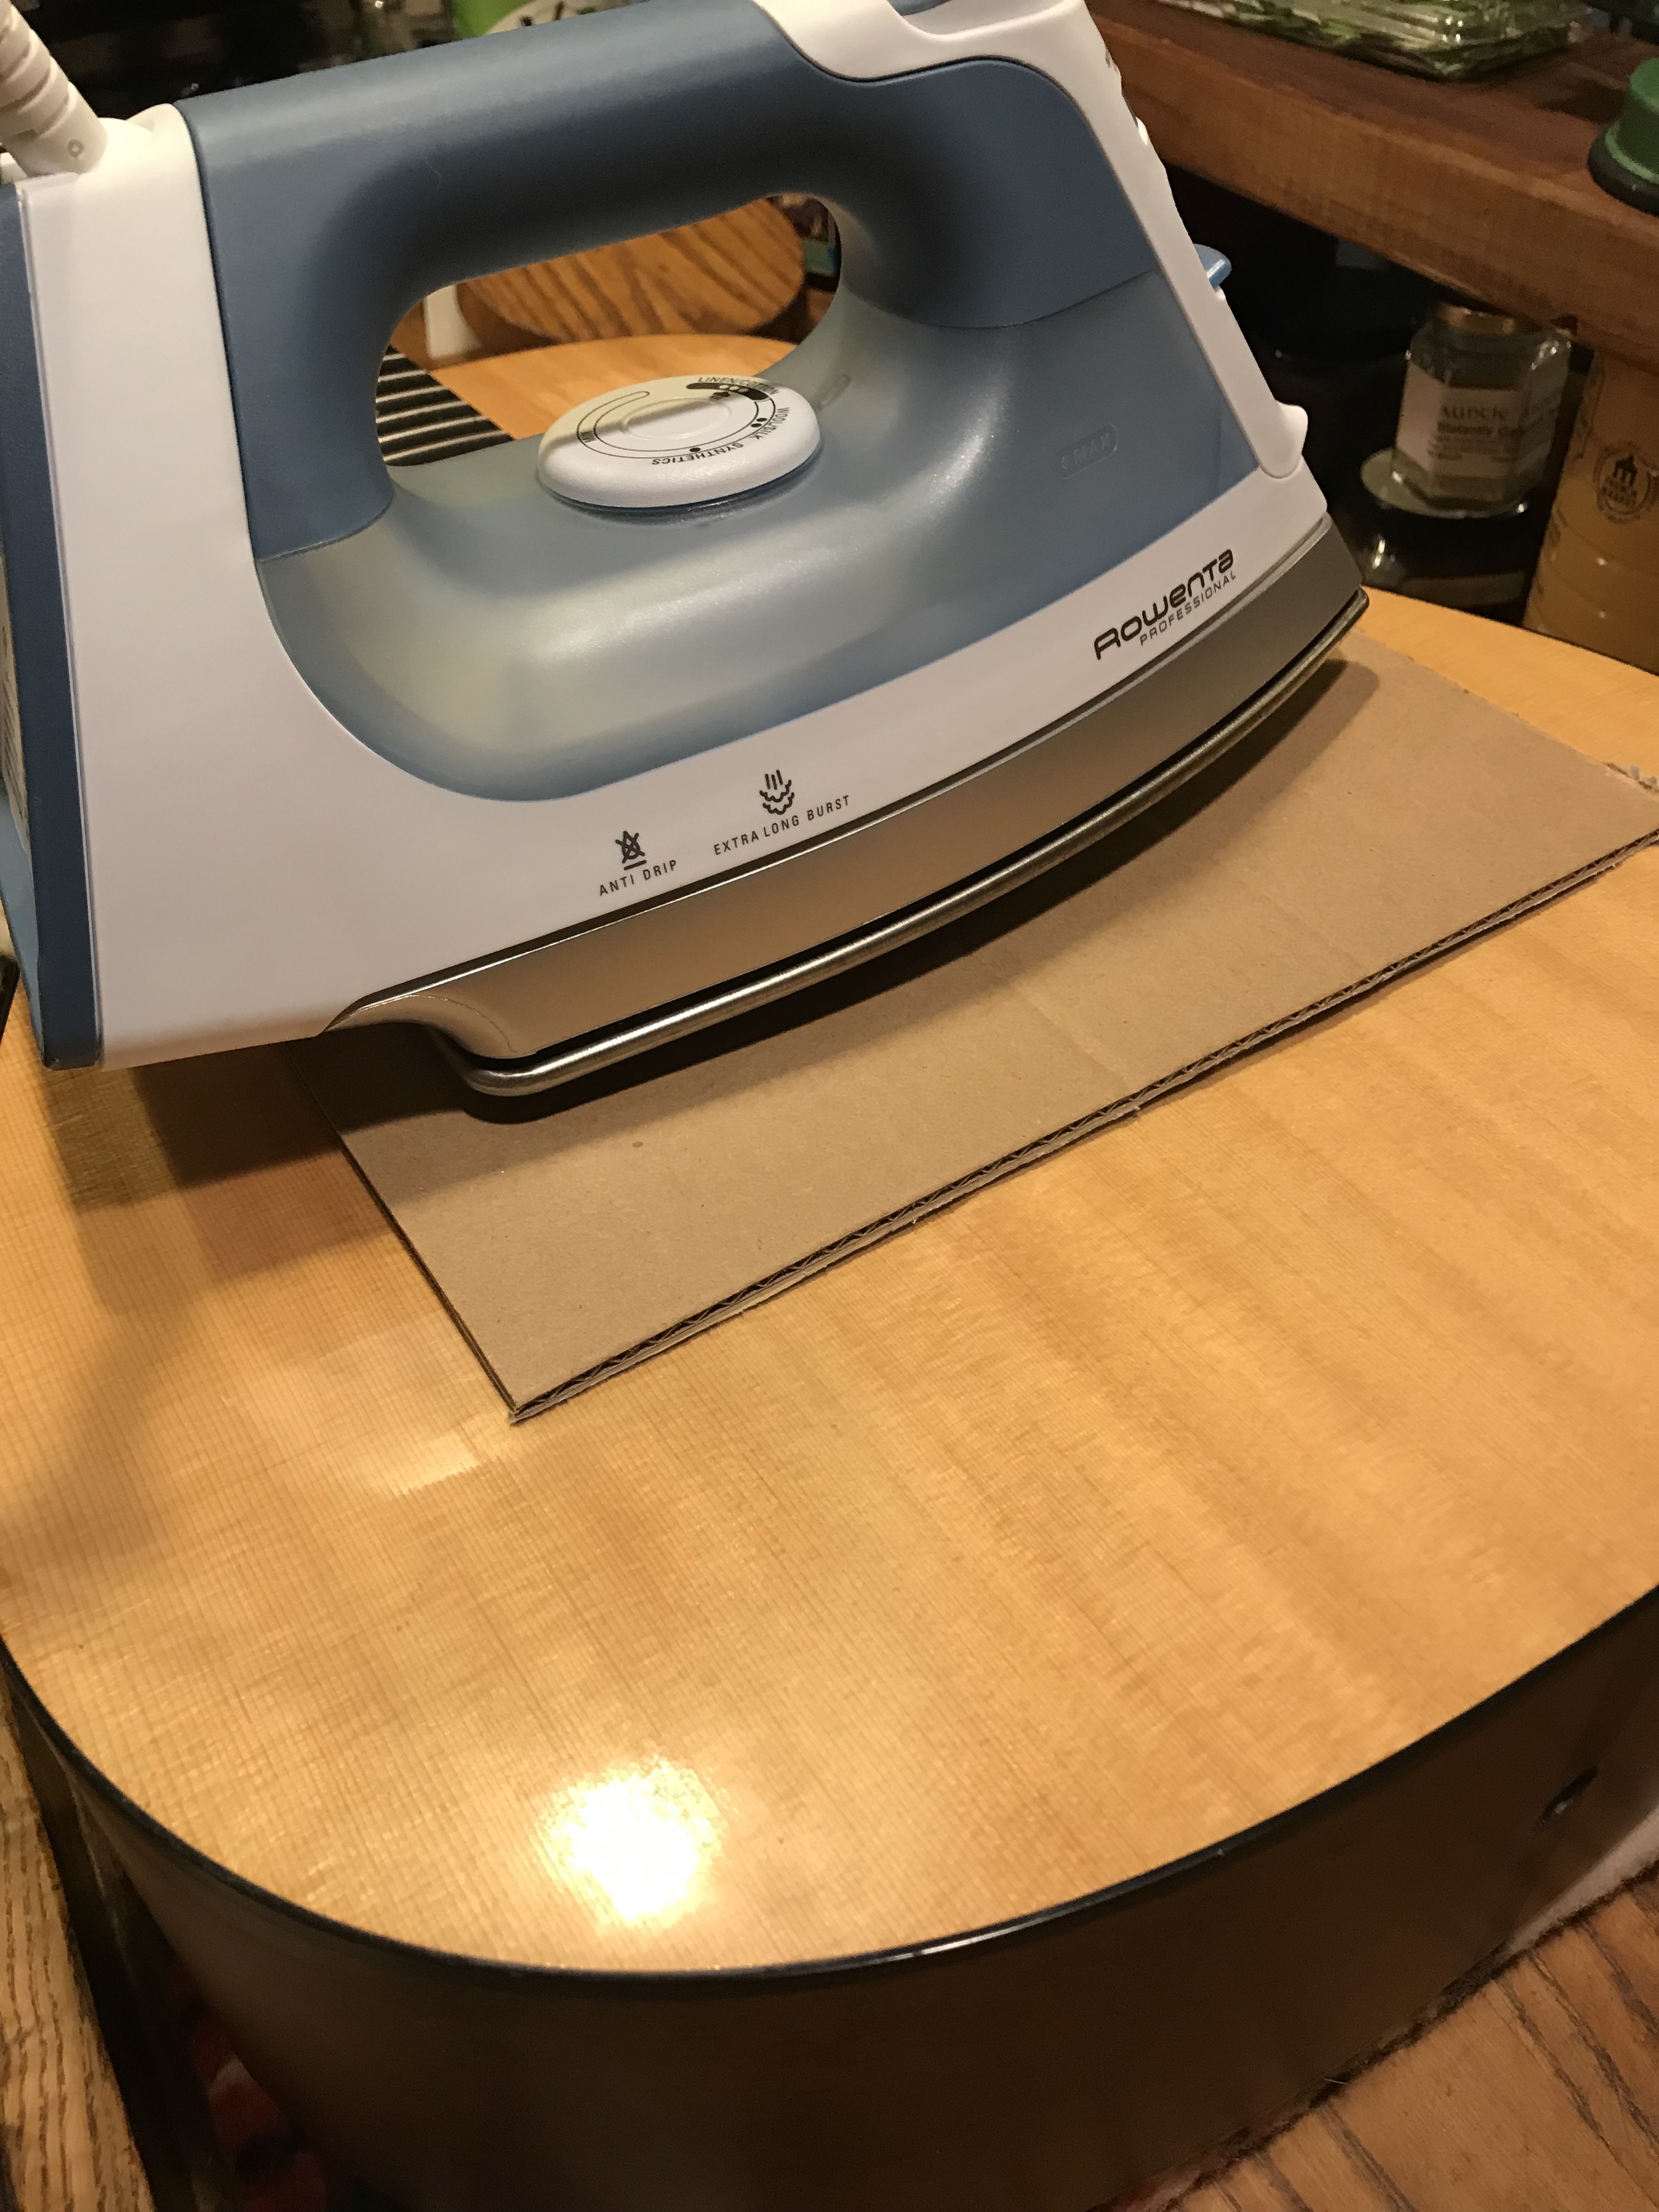
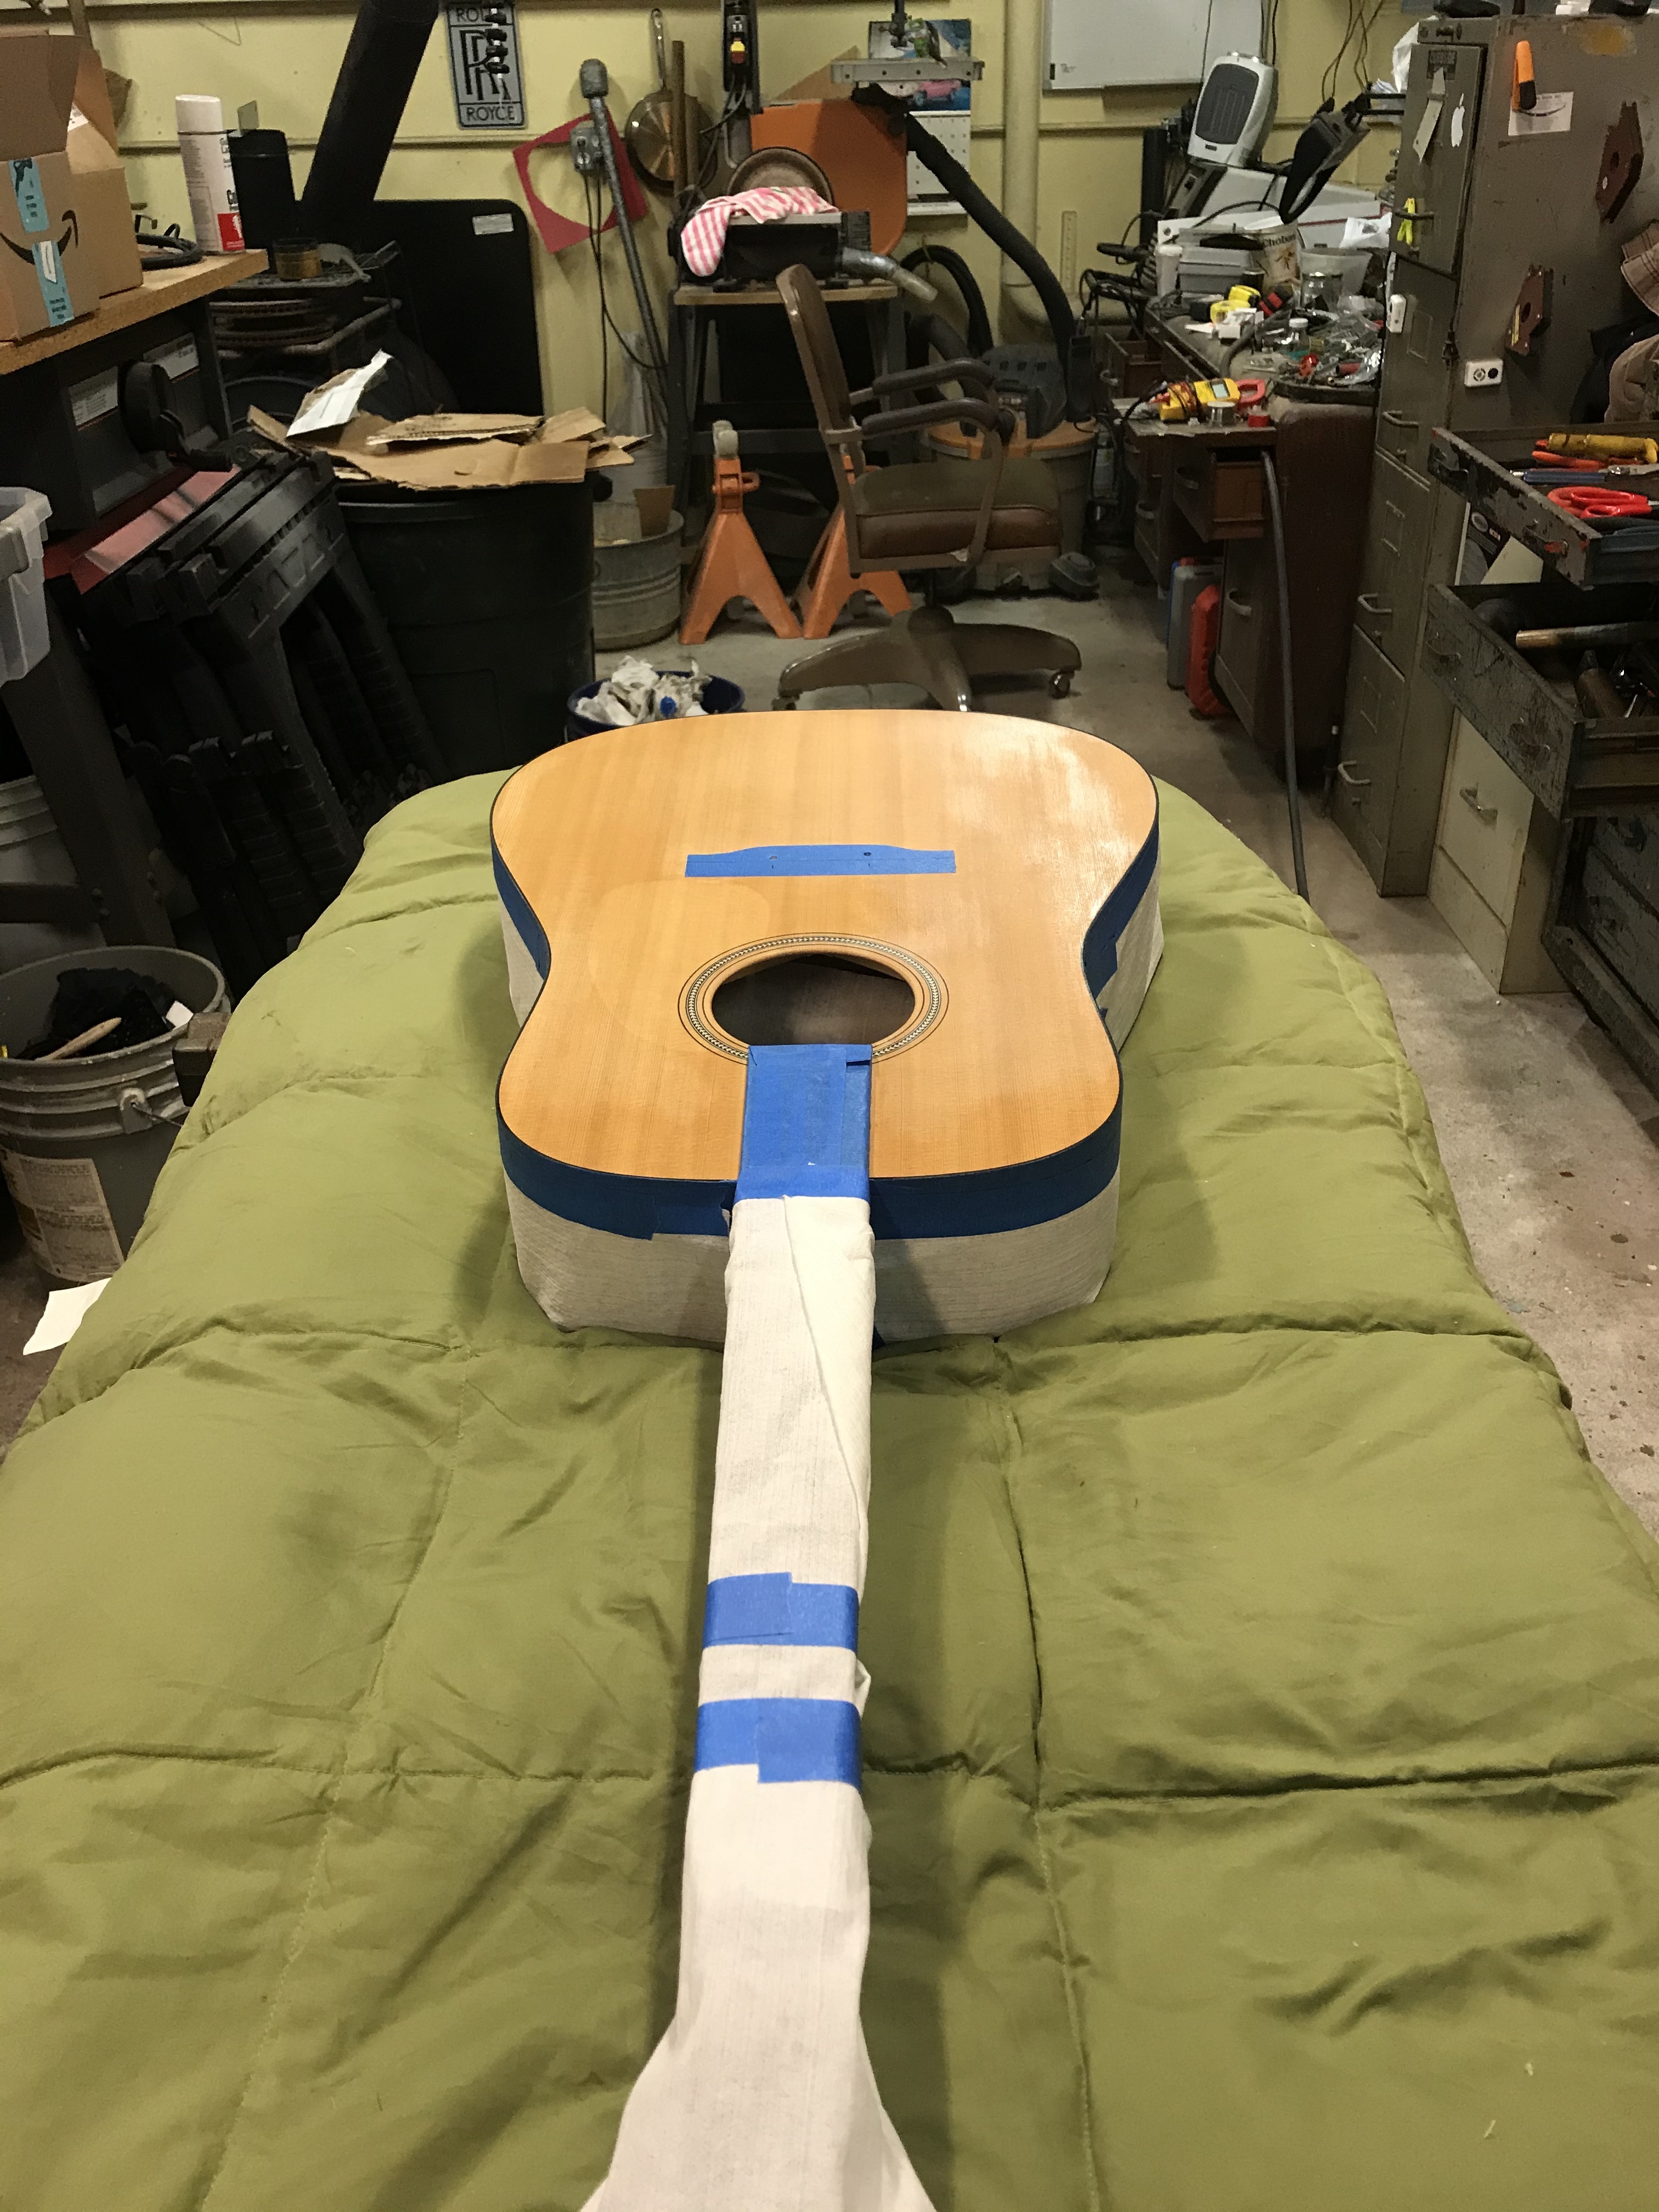
So, it had to come off. Chemicals are a no-no as they would attack the plastic binding. So, after “clearing the deck” sanding and scraping it was to be. There is an argument for removing the neck, but one of the Luthiers I consulted said that with a little care I could probably work around it especially with the finish color I was contemplating, more on that later. Not so with the bridge and pickguard. Pickguard was easy. Youtube yielded hours of video on bridge removal. They all had one thing in common: Heat. There’s really nice heat pads in the shape of the bridge $$…..or you can use an iron. One advantage I did have is that damaging the finish was not a problem as it was coming off anyways. In the end I settled on the iron. So, strings, saddle, pins and pickguard off. Measured the distance from the outside nut to the center of the saddle at 25-5/8″. (Of course after thinking about that for a while….. I got 6 holes in the top that will line up with the bridge… DOH!) Cardboard heat shield although, again, I’m not too worried about the finish at this point, and an aluminum foil heat distribution layer and to protect the bridge. Don’t want to booger that up.

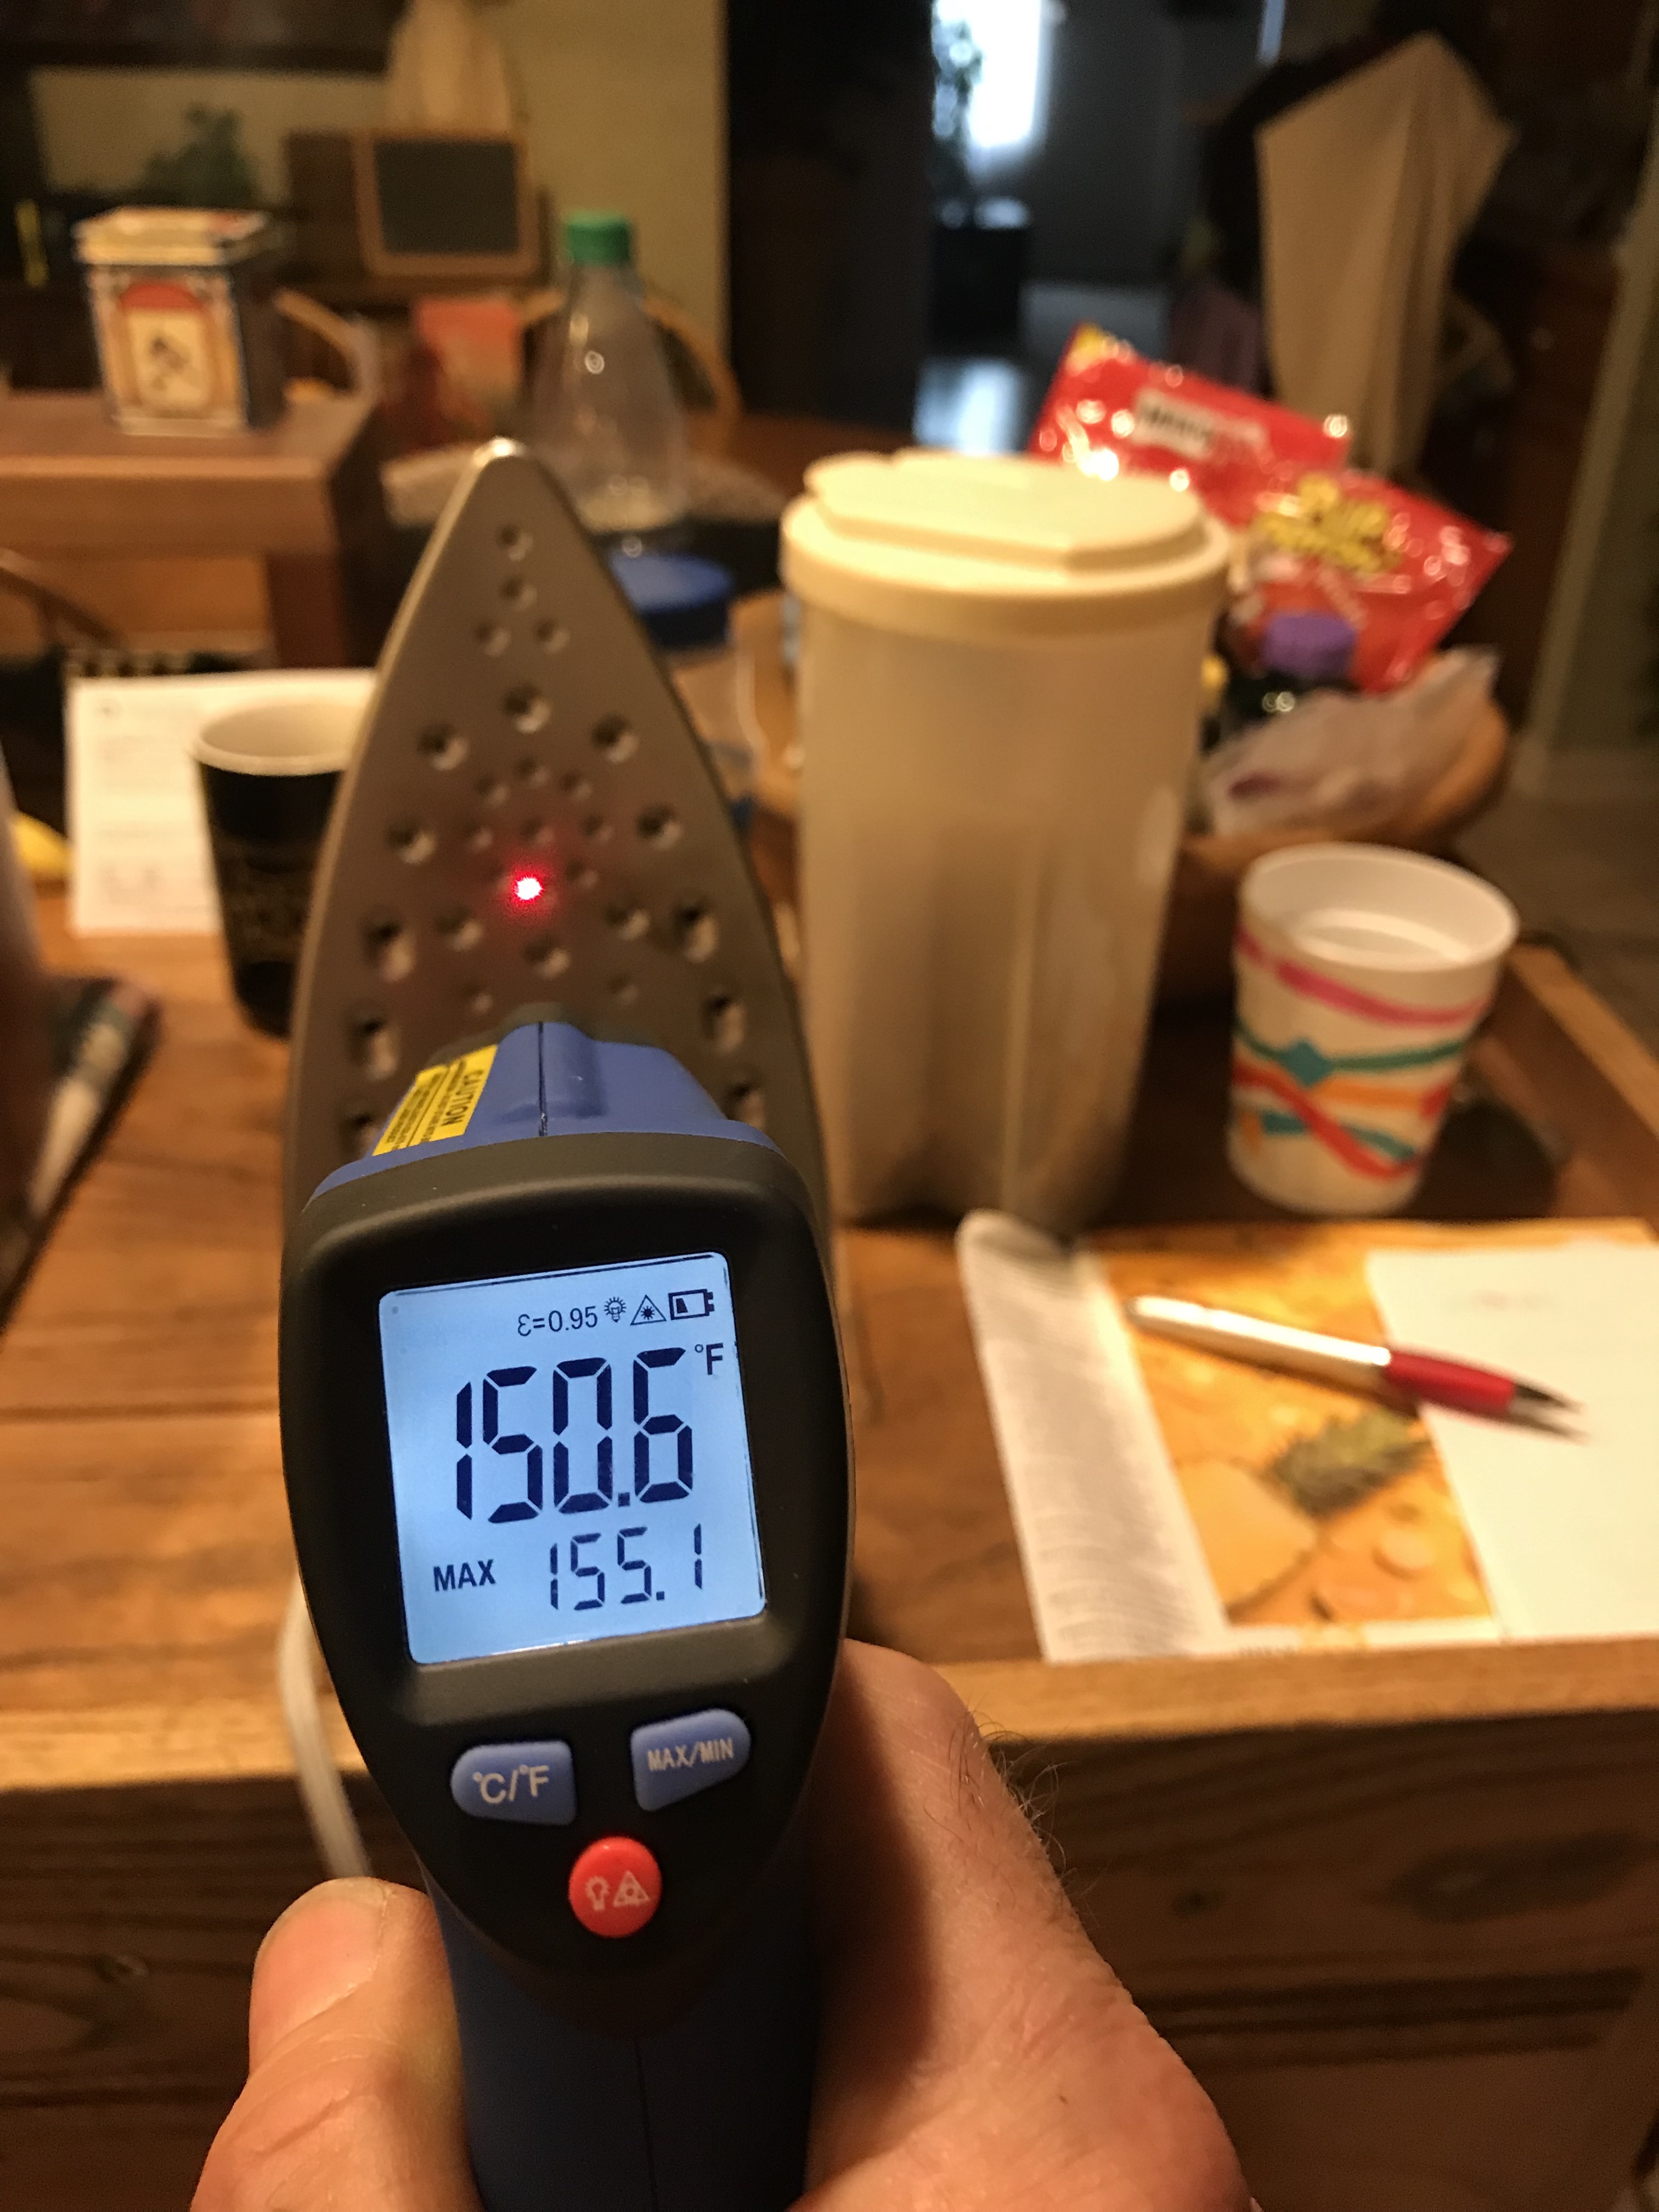
It was heating time, I was looking for 150ºF-ish for starters. In the end I kicked that up a notch, guess is 180ºF, until I felt the putty knife starting to cut through the glue.
So, a lot of wiggling with a thin putty knife and a steel ruler under there, and eventually “pop goes the weasel”. Of it came, nice and in one piece, minimal damage to the materials. I did do a number on the finish around it, but again, I’m stripping it anyways so no big deal. If and when I have to remove a bridge from a top I am NOT refinishing I will have to be a lot more carful, like the guys in the videos. 🙂

Now to scraping and sanding. I like razors, SHARP razors. So a box of 100 please. And sand paper…..
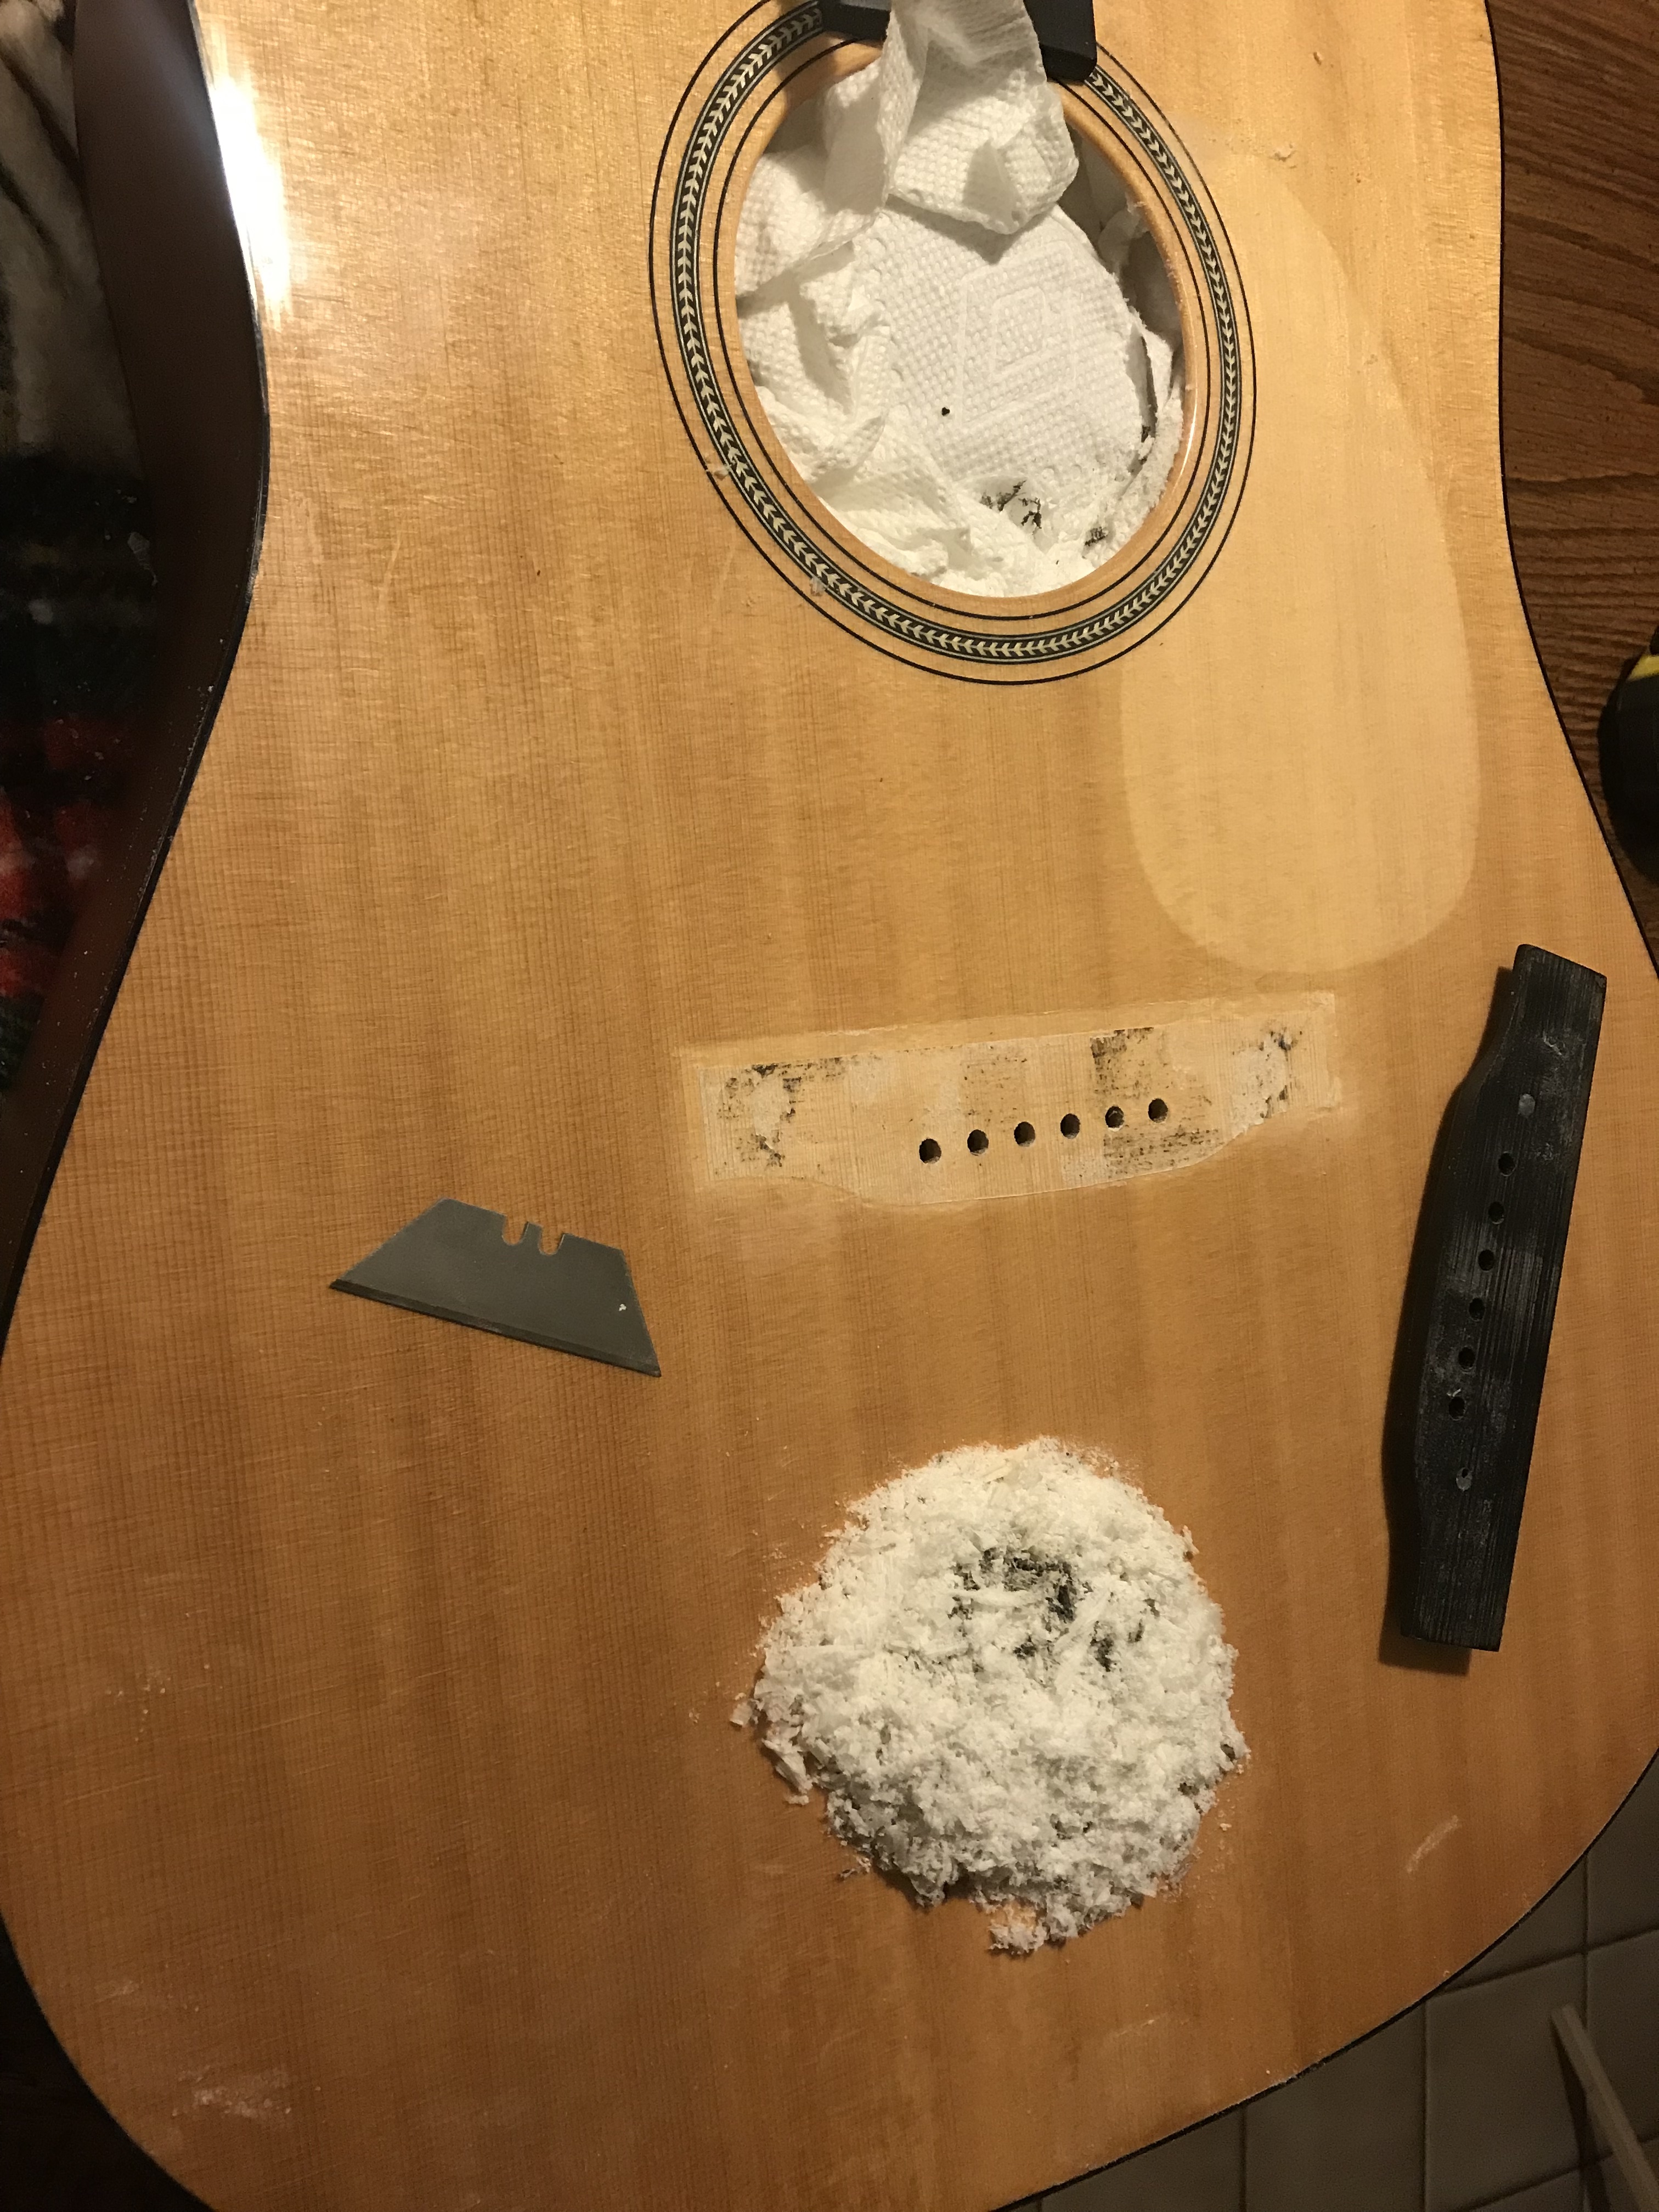
And off to Muppet Labs it went…. sanding worked better than scraping. 150-220-320

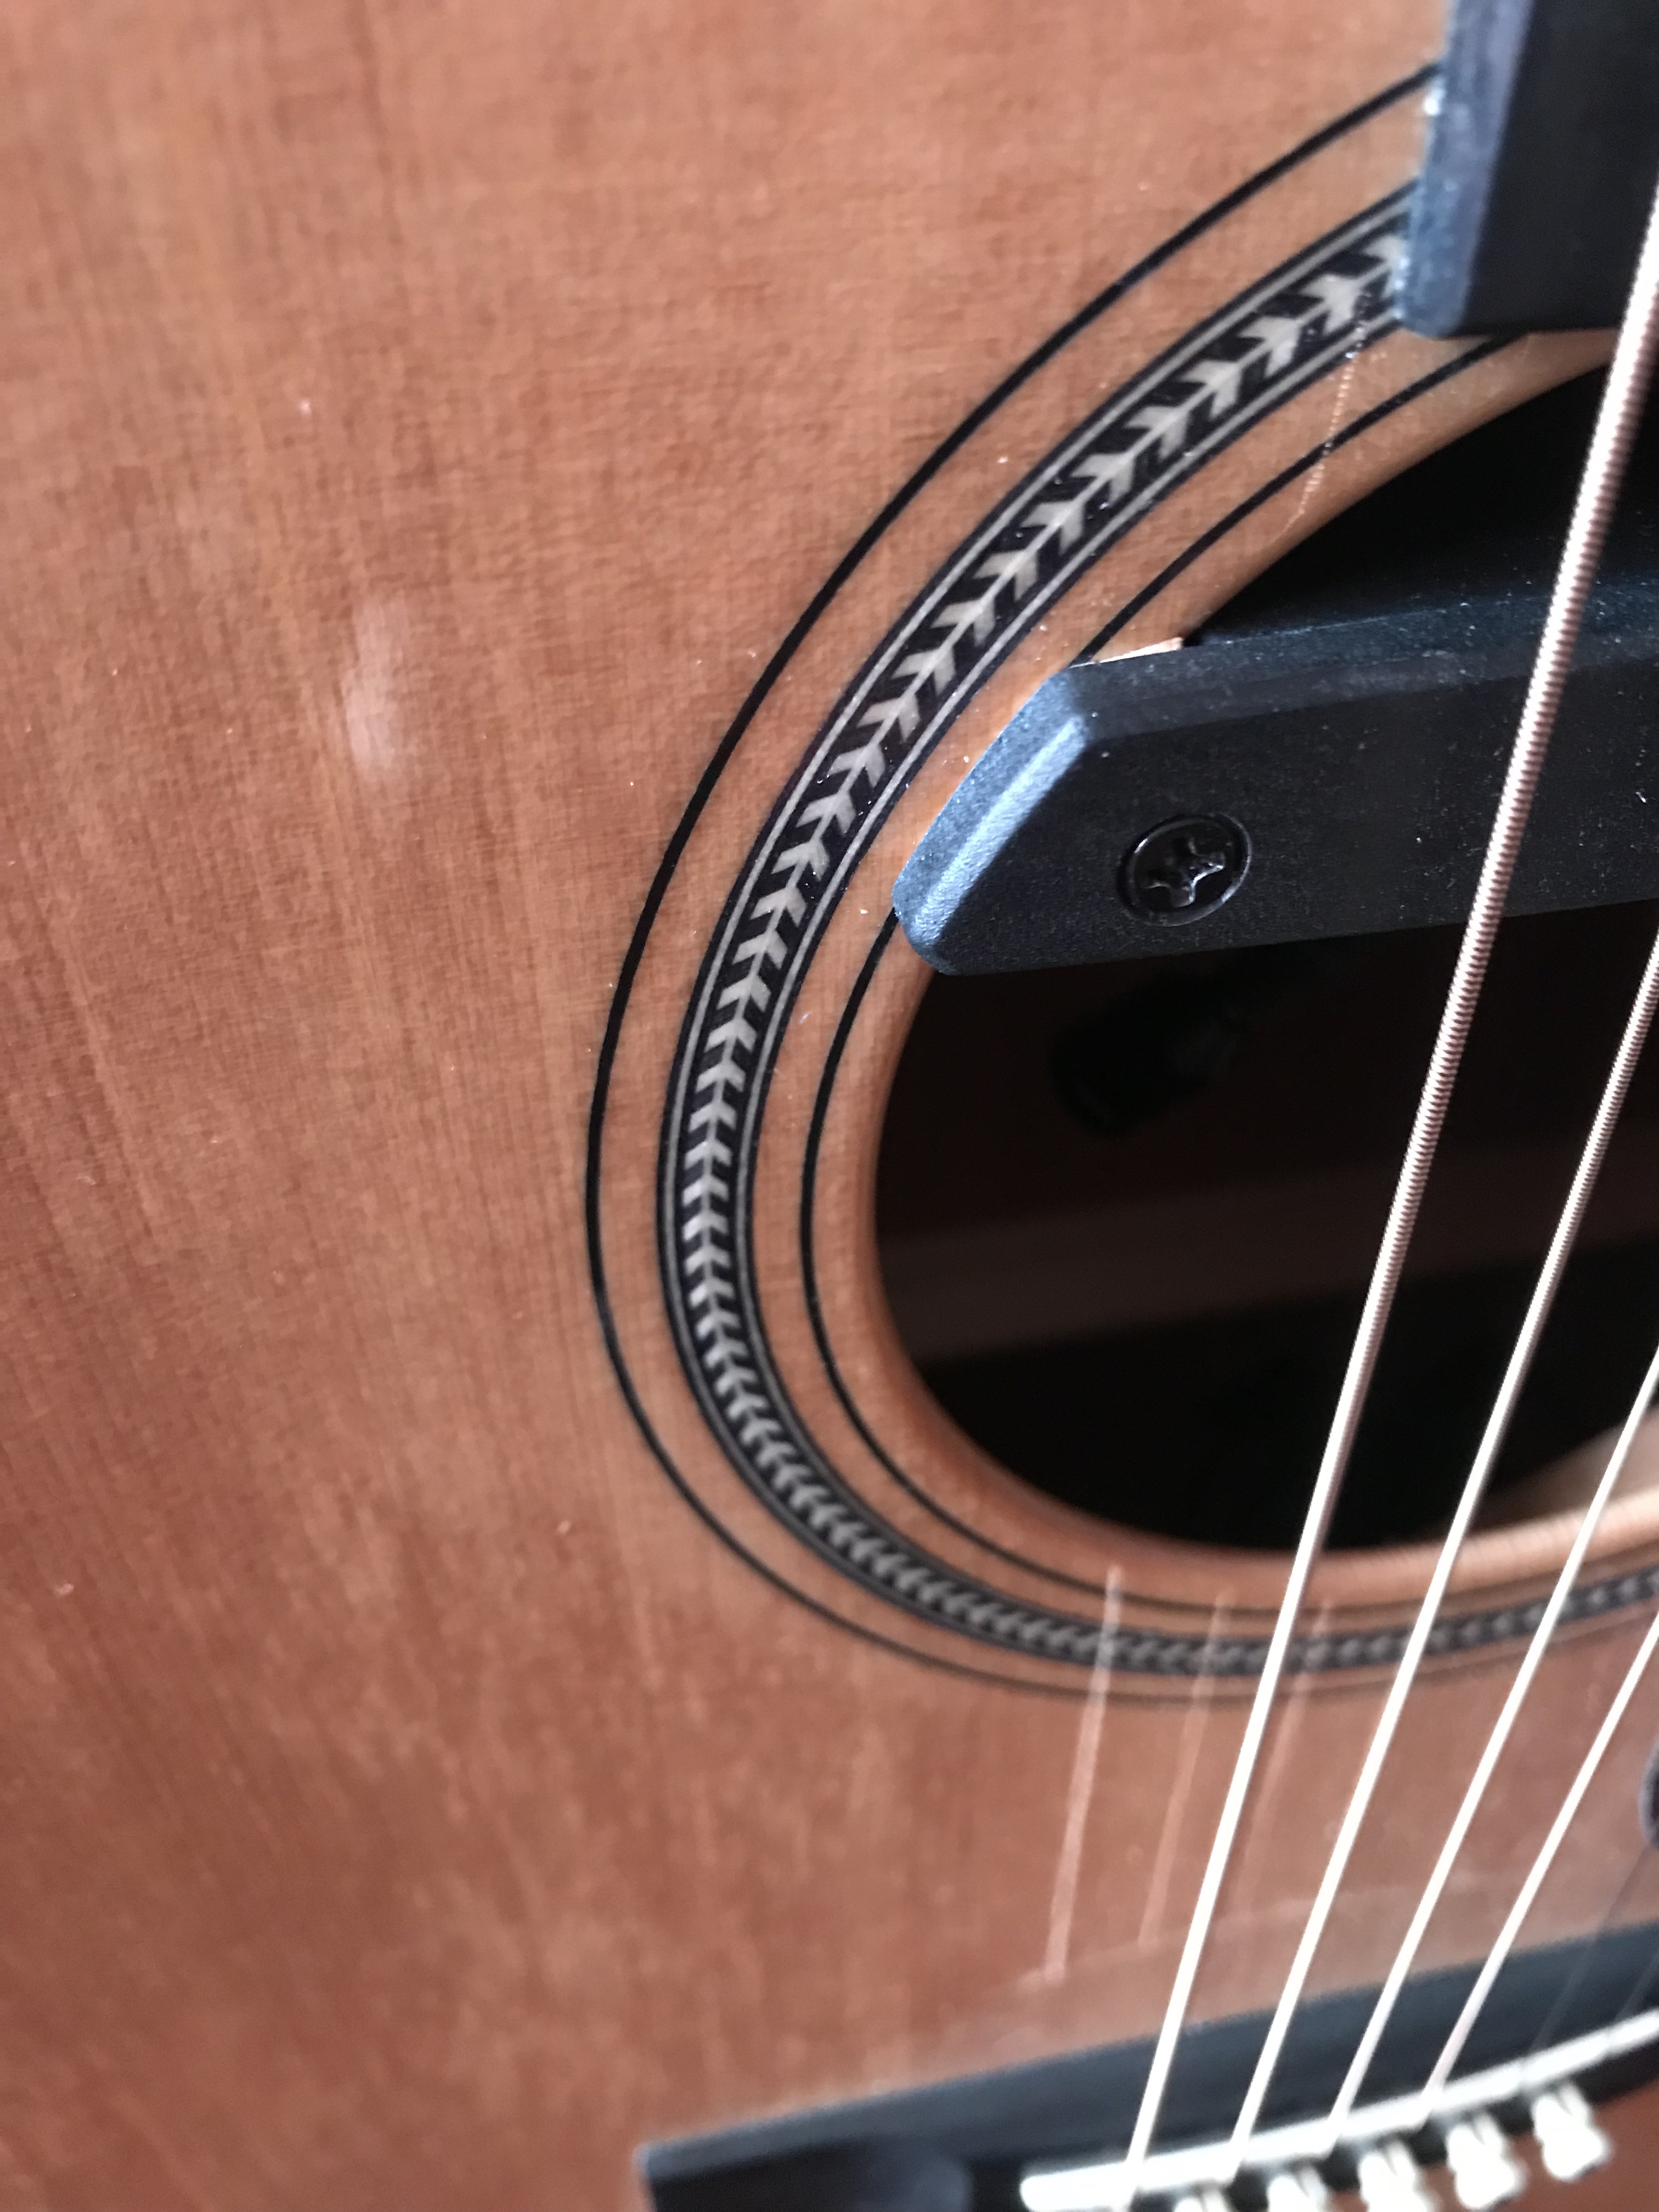
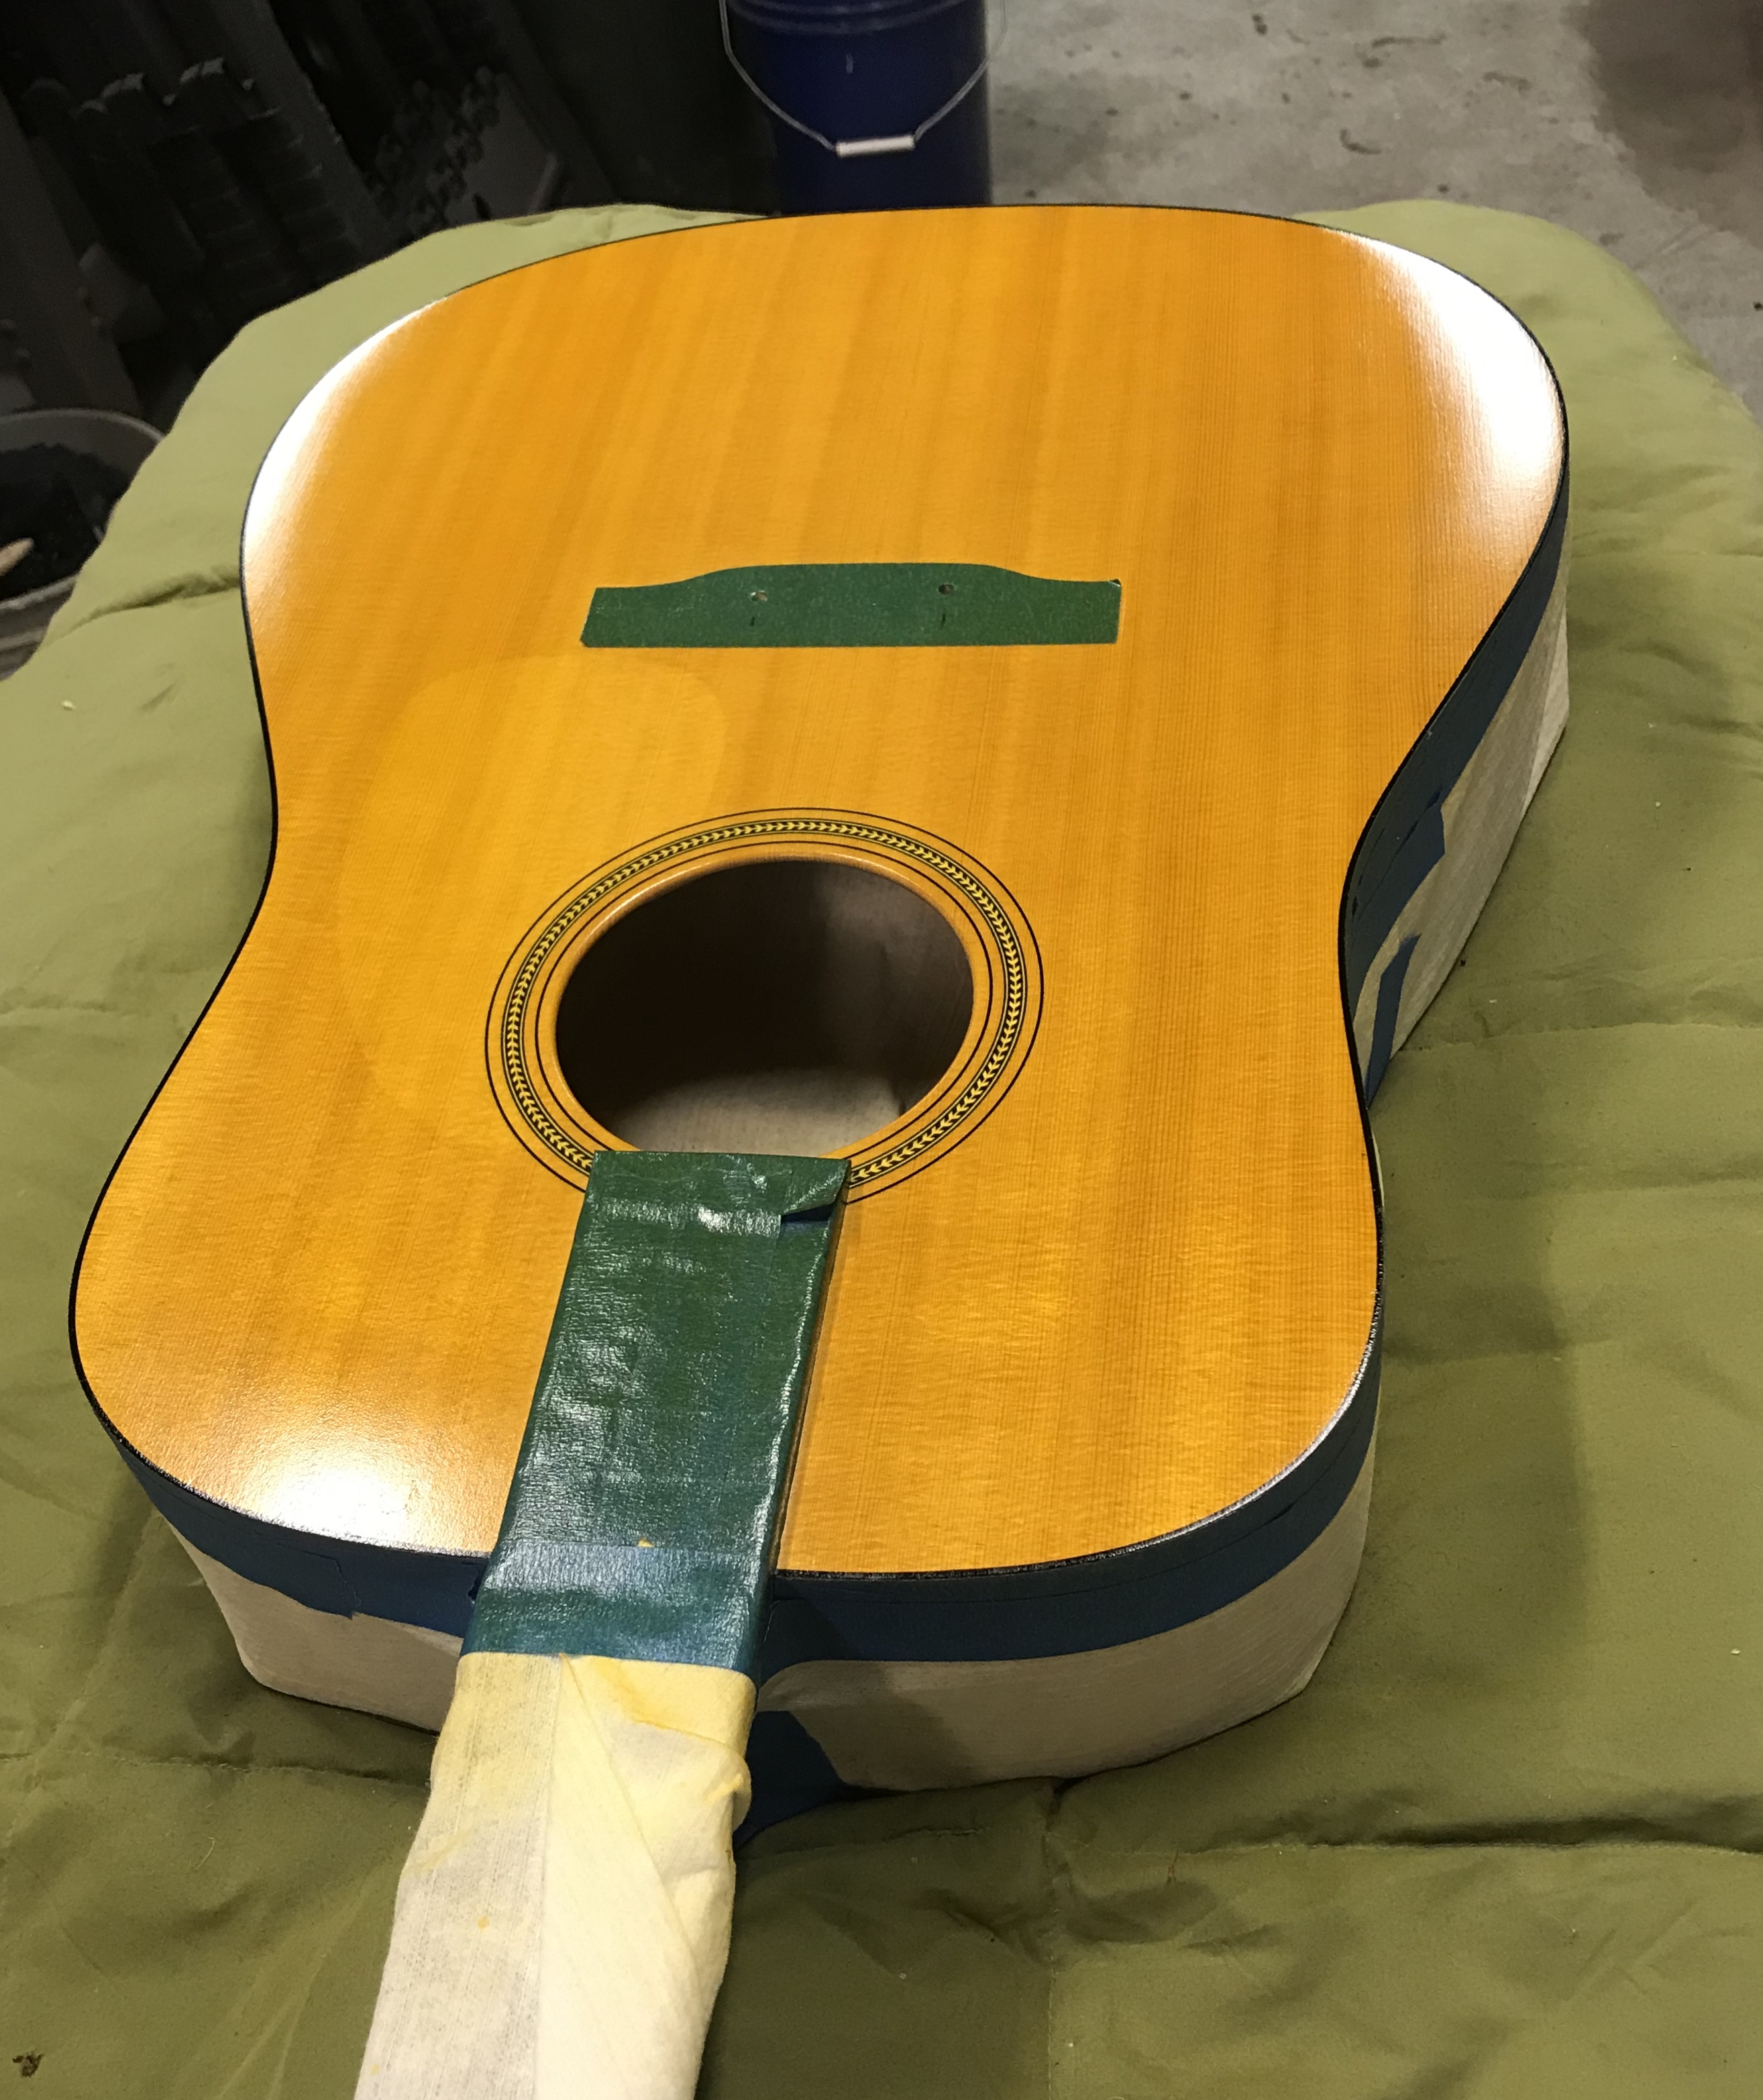
And a wipe down with mineral spirits…. looking good. I believe that the problem finish is GONE. Note that even after sanding the pick guard is still very visible. So, I think we’re going to have to put one back on there……

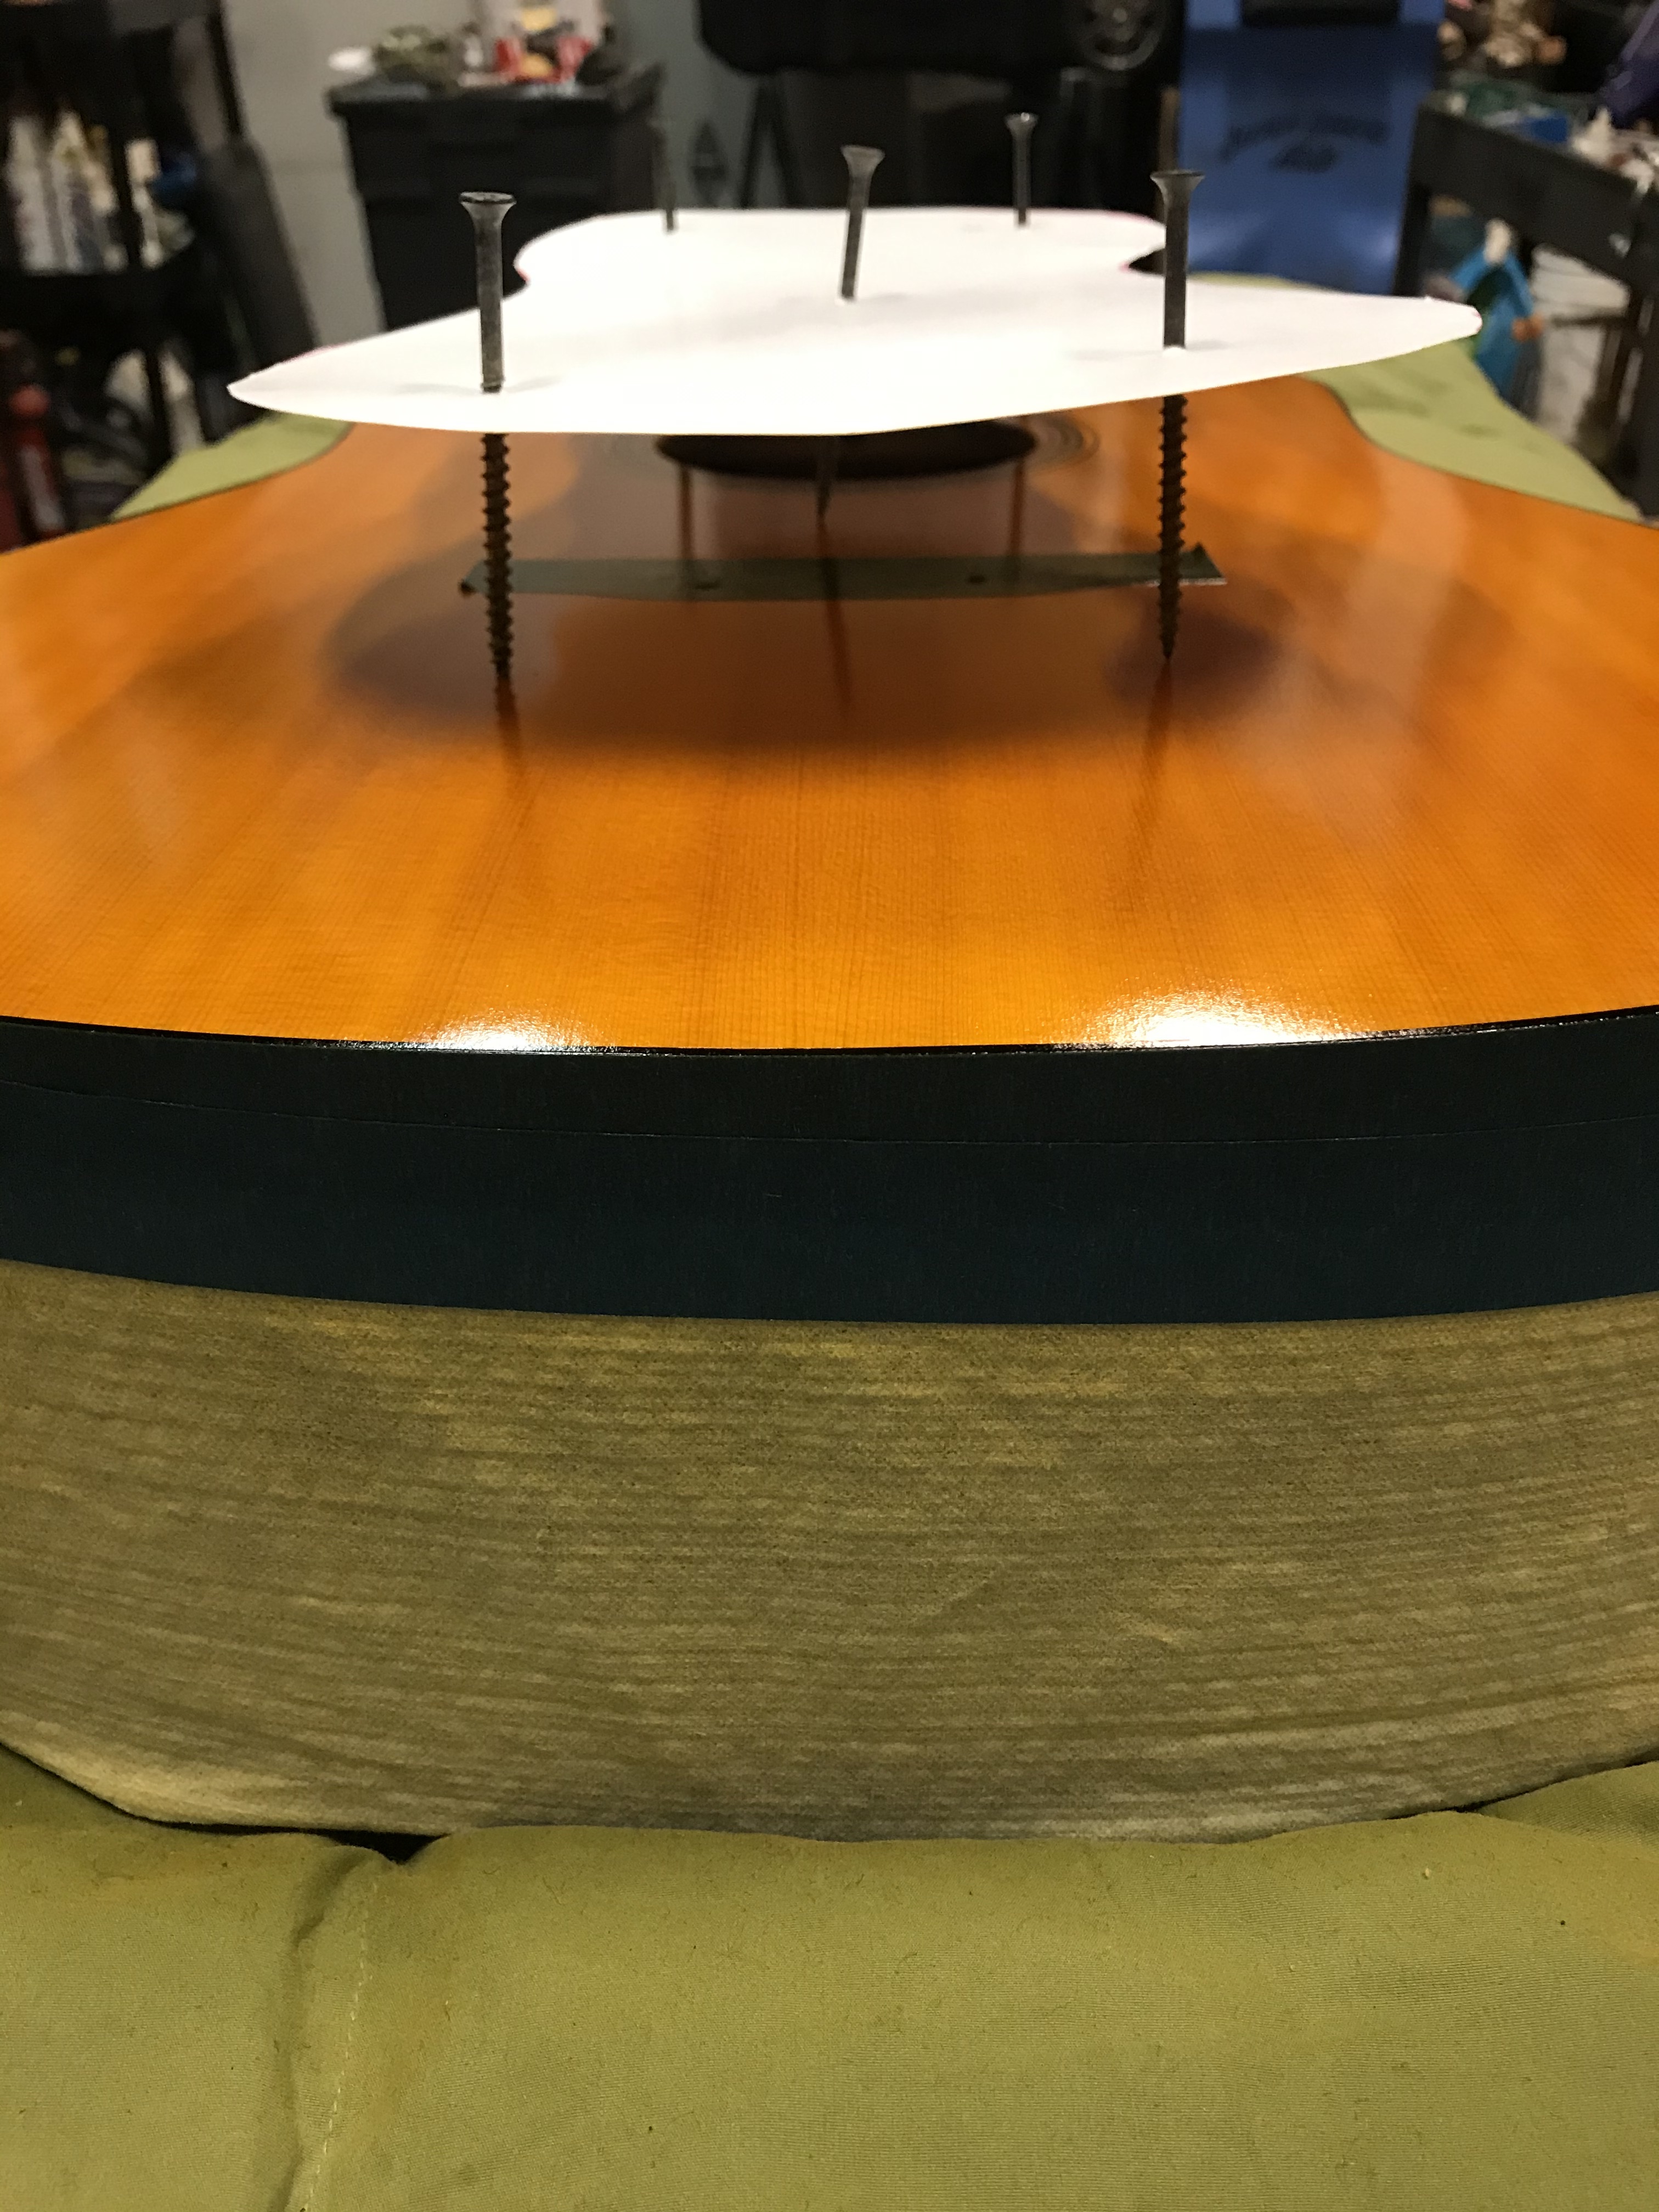
So….. next step is paint. Mask it off nicely. There should be no paint under the bridge to allow for maximum adhesion. So i applied masking tape, then located the bridge with two pins and used a sharp craft knife to cut around it.


There are a gazillion choices as to what to put on there. I went with lacquer. Nice and traditional. (Maybe I’m compensating for my Carbon Fiber guitars…..) StewMac in a rattle can, doesn’t get any easier. First, three coats of sanding laquer. Hour in between then let it sit for 24 hours and sand.
Next a few coats of Amber. This is #1. Ignore the orange peel. We’ll get to that.
And now it’s time to get creative….! A poster board mask held about 2″ off. And a can of antique red lacquer….

Next a larger mask and black!
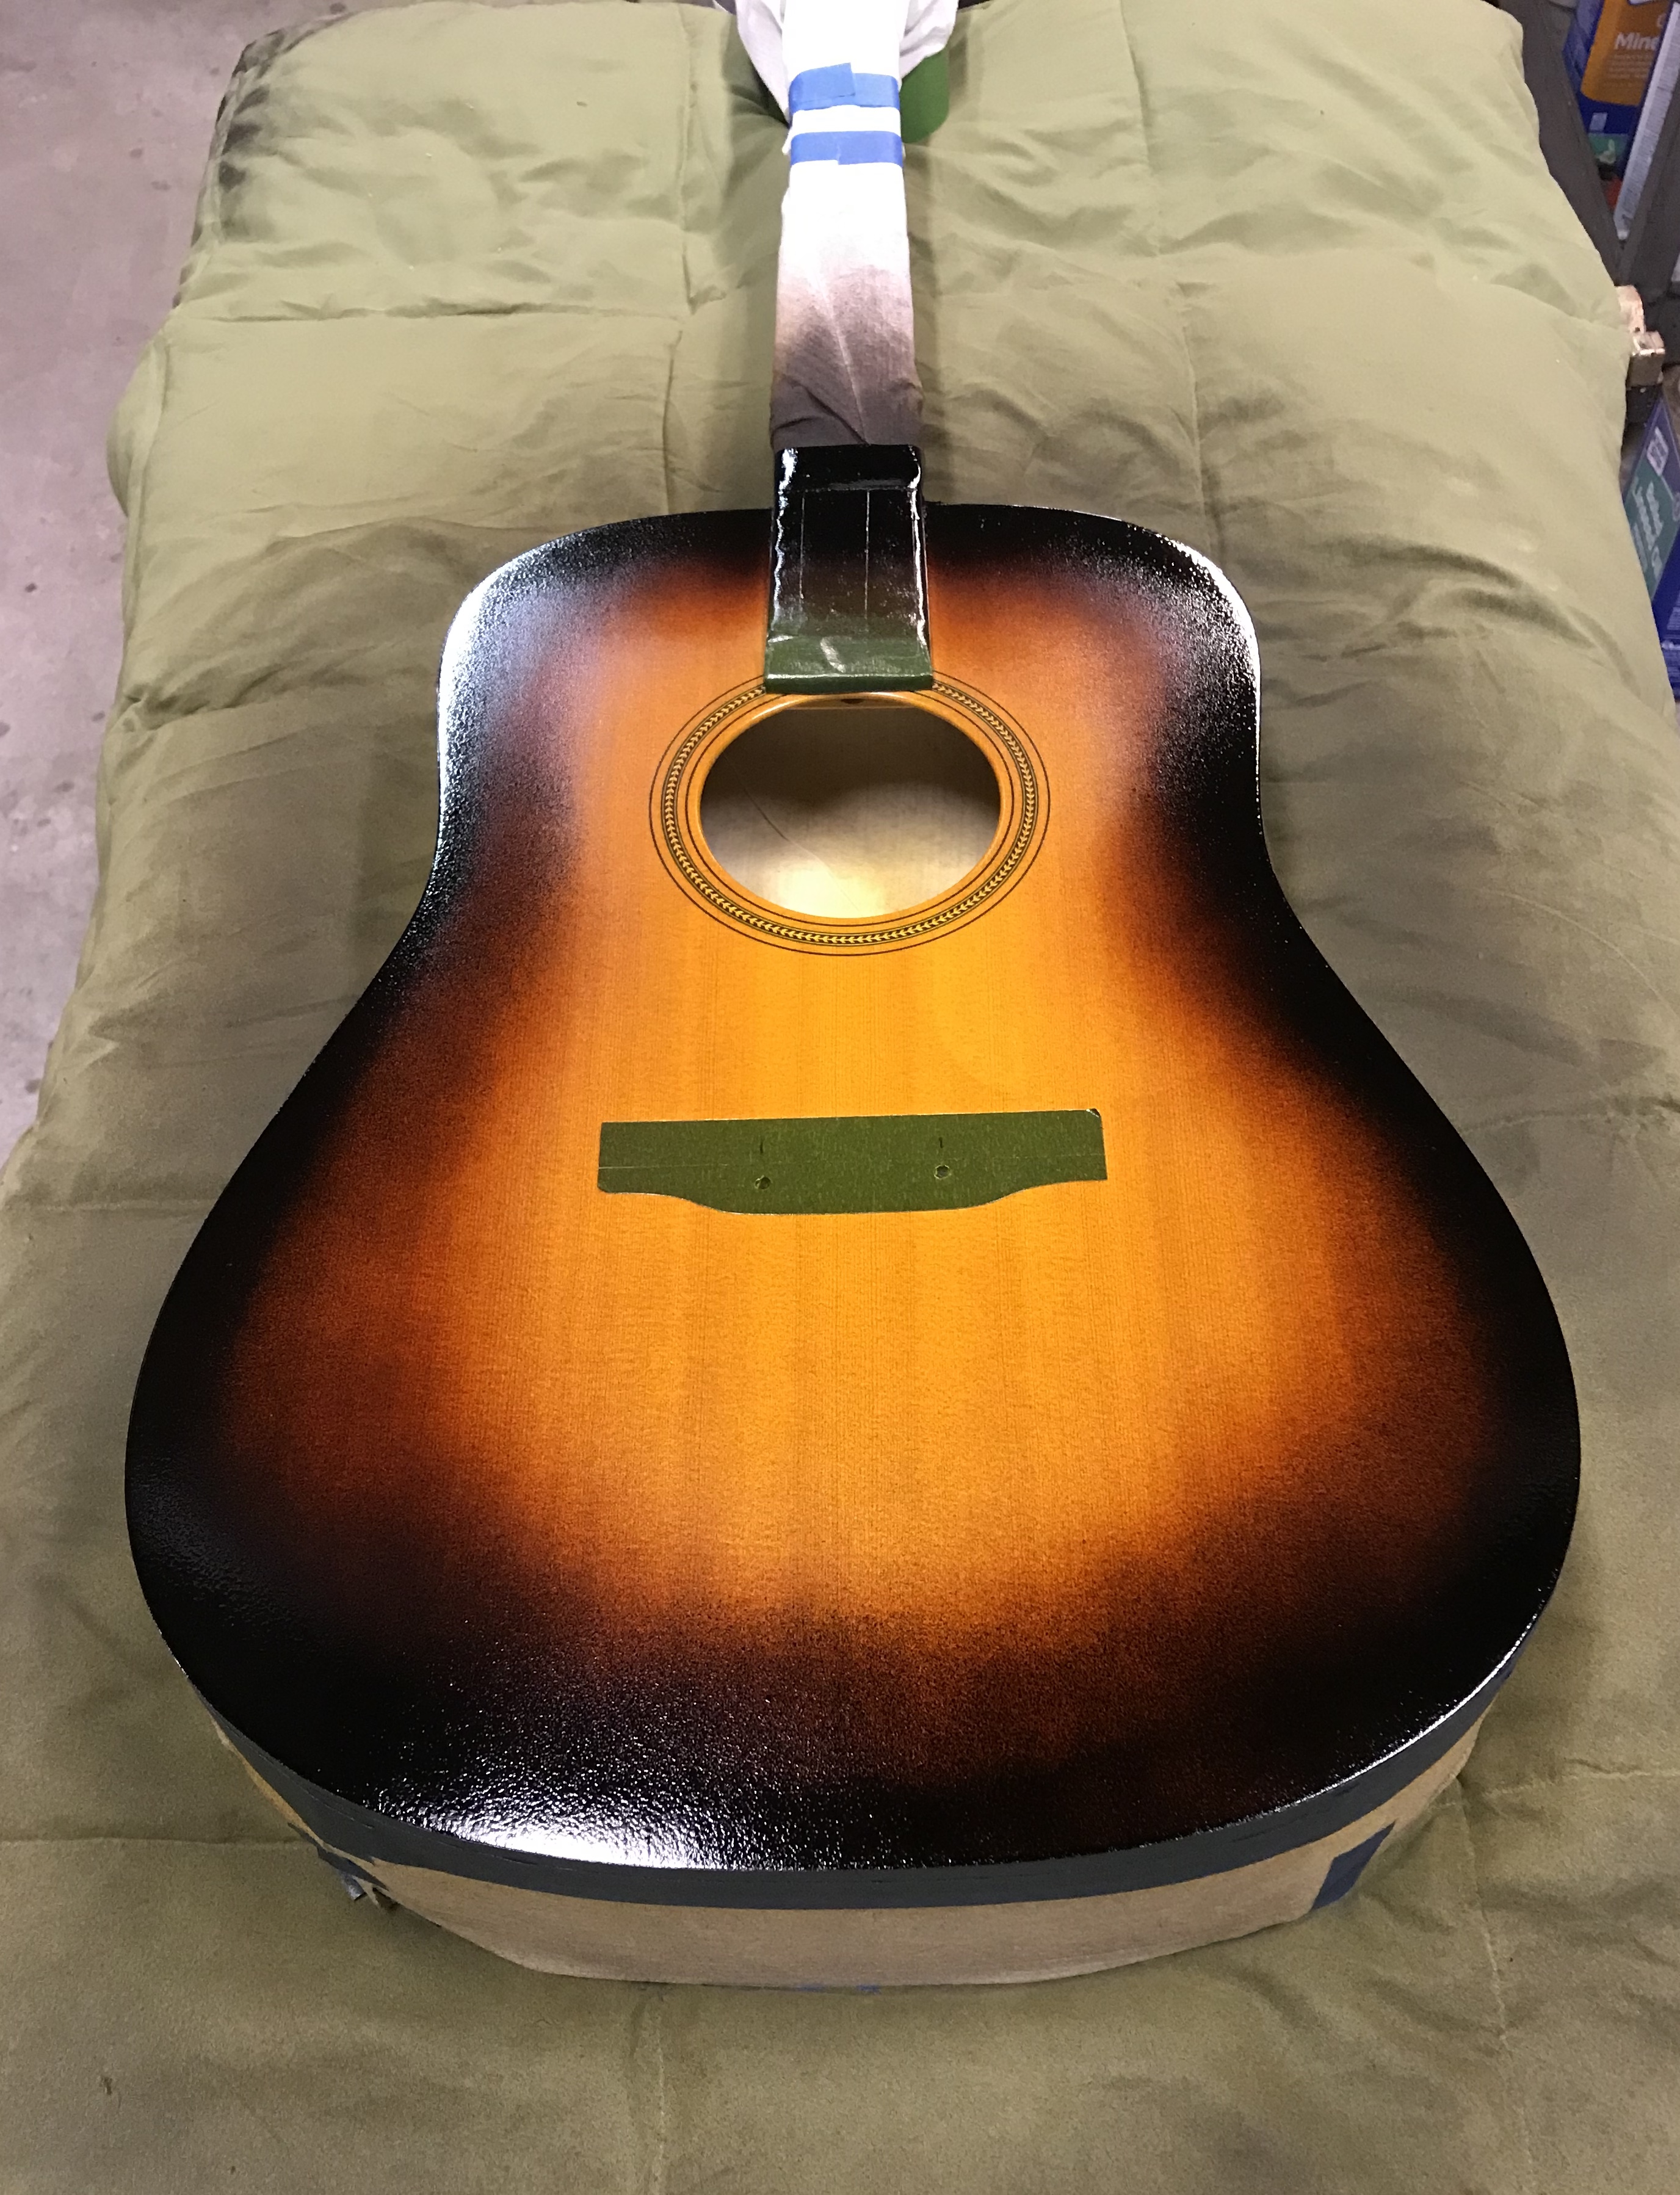
Once again, the orange peel will be taken care of . It’s still wet in the picture and it flattens nicely when it dries. Next a few more amber coats with some light sanding in between and then a few clear. Total about 8 coats not counting the edge colors.
This was my first time working with lacquer. There’s a lot I like about it. One thing that’s cool is that every layer actually “liquifies” for lack of a better word, the previous one a little and they bond. So in the end you have one thick homogenous layer. Pretty cool. However, if there’s a splatter, and you quickly try to wipe it up with your finger, you have a multi layer mess on your hands. So I tried to fill it, not even trying to color match, and call it a “birth mark”. Yeah, I did that on purpose.

Nope, after staring at it for a while it is what it is… a screwup.

The only way to fix that is to start over. NOOOOO! Then I had the epiphany. Bring the black up to include the dot. Sunburst designs are all different, and this one will have to be one with a mostly black belly. Not what I started out to do, but that’s art. You have an idea and then things come out…. well, the way they come out.
The scene of the crime….